Deploy MOSTLY AI to an OpenShift cluster
You can install MOSTLY AI in an OpenShift cluster. This page covers the list of prerequisites you need and the steps for a successful installation.
Prerequisites
- An OpenShift (4.2 or higher) cluster
- Your OpenShift cluster meets the resource requirements.
- Install helm.
- Install OpenShift CLI tools.
- Log in to your cluster. See Logging in to the OpenShift CLI.
- Internet connectivity to pull the Docker images from the MOSTLY AI repository.
- Fully-qualified domain name (FQDN) for the MOSTLY AI application. A TLS certificate is optional.
- Obtain deployment details from your Customer Experience Engineer.
- MOSTLY AI Helm chart
- Secret key to access the MOSTLY AI image repository
- First-time log in credentials for the MOSTLY AI application
Steps
- Create the
mostly-ainamespace in your OpenShift cluster.oc new-project mostly-ai - Unarchive the MOSTLY AI Helm chart and from a terminal or a command line, change directory to the one that contains your
MOSTLY_AI_helm_charts.cd MOSTLY_AI_helm_charts - Open the
ocp-values.yamlfile in an editor. You set the configurations required to deploy MOSTLI AI in an OpenShift cluster in this file. - Set the fully-qualified domain name (FQDN) of your organization.
- Set your FQDN for the
fqdn:,host:andhostname:keys accordingly.
The excerpt below showsmostlyai.your-organization.comas the configured FQDN. Replace it with your FQDN.ocp-values.yaml... fqdn: mostlyai.your-organization.com ... - (Optional) Apply one of the configurations below depending on whether you intend to use SSL-encrypted access to the MOSTLY AI application.
➡️ You use an SSL certificate. Replaceyour-tls-secretwith the TLS secret name as defined in your cluster configuration.💡Your IT department or Kubernetes administrator creates the FQDN and its SSL certificate and adds it to the configuration of your cluster. When added, it comes with a TLS secret name that you can define in the
ocp-values.yamlfile. For details, see Configure your domain SSL certificate.➡️ You do not use an SSL certificate. Replace theocp-values.yaml_customerInstallation: ... deploymentSettings: tlsSecretName: &tlsSecretName your-tls-secret ...your-tls-secretwith an empty string and, forglobal.tls, setenabledtofalse.ocp-values.yaml_customerInstallation: ... deploymentSettings: tlsSecretName: &tlsSecretName [] # your-tls-secret ... global: ... tls: enabled: false ...
- Set your FQDN for the
- Set your Docker pull image secret key in the
_customerInstallation.deploymentSettings.mostlyRegistryDockerConfigJsonkey. The secret key is your authentication for the MOSTLY AI Helm repository.Replace the default value afterocp-values.yaml_customerInstallation: ... deploymentSettings: ... mostlyRegistryDockerConfigJson: &mostlyRegistryDockerConfigJson eyJh... ...&mostlyRegistryDockerConfigJson(in the example above, this iseyJh...) with the Docker pull image secret key provided by your Customer Experience Engineer.
The value must not be wrapped in quotation marks and the line should look similar to the following, where the ellipsis (…) indicates the remaining characters of the complete secret key.ocp-values.yaml... mostlyRegistryDockerConfigJson: &mostlyRegistryDockerConfigJson exJhdXRocyI6eyJuZX... ... - (Optional) Configure the image repository.
- If you have all of the necessary images to deploy MOSTLY AI in your internal repository, leave the URL of your repository under
_customerInstallation.deploymentSettings.mostlyRegistry, replacing the existing value:ocp-values.yaml_customerInstallation: ... deploymentSettings: ... mostlyRegistry: &mostlyRegistry quay.io/mostlyai ... - If you are using an internal repository, you need to complete the following 2 steps.
- Set
mostly-configuration.secrets.dockerConfig.createtofalseto prevent the creation of a Docker pull secret.ocp-values.yaml... mostly-configurations: secrets: dockerConfig: create: false - Map the name of the secret for your repository under
global.image.mostlyPullSecret.ocp-values.yaml... global: ... image: mostlyRegistry: *mostlyRegistry mostlyPullSecret: mostly-ai-docker-credentials-production ...
- Set
- If you have all of the necessary images to deploy MOSTLY AI in your internal repository, leave the URL of your repository under
- Save your changes in the
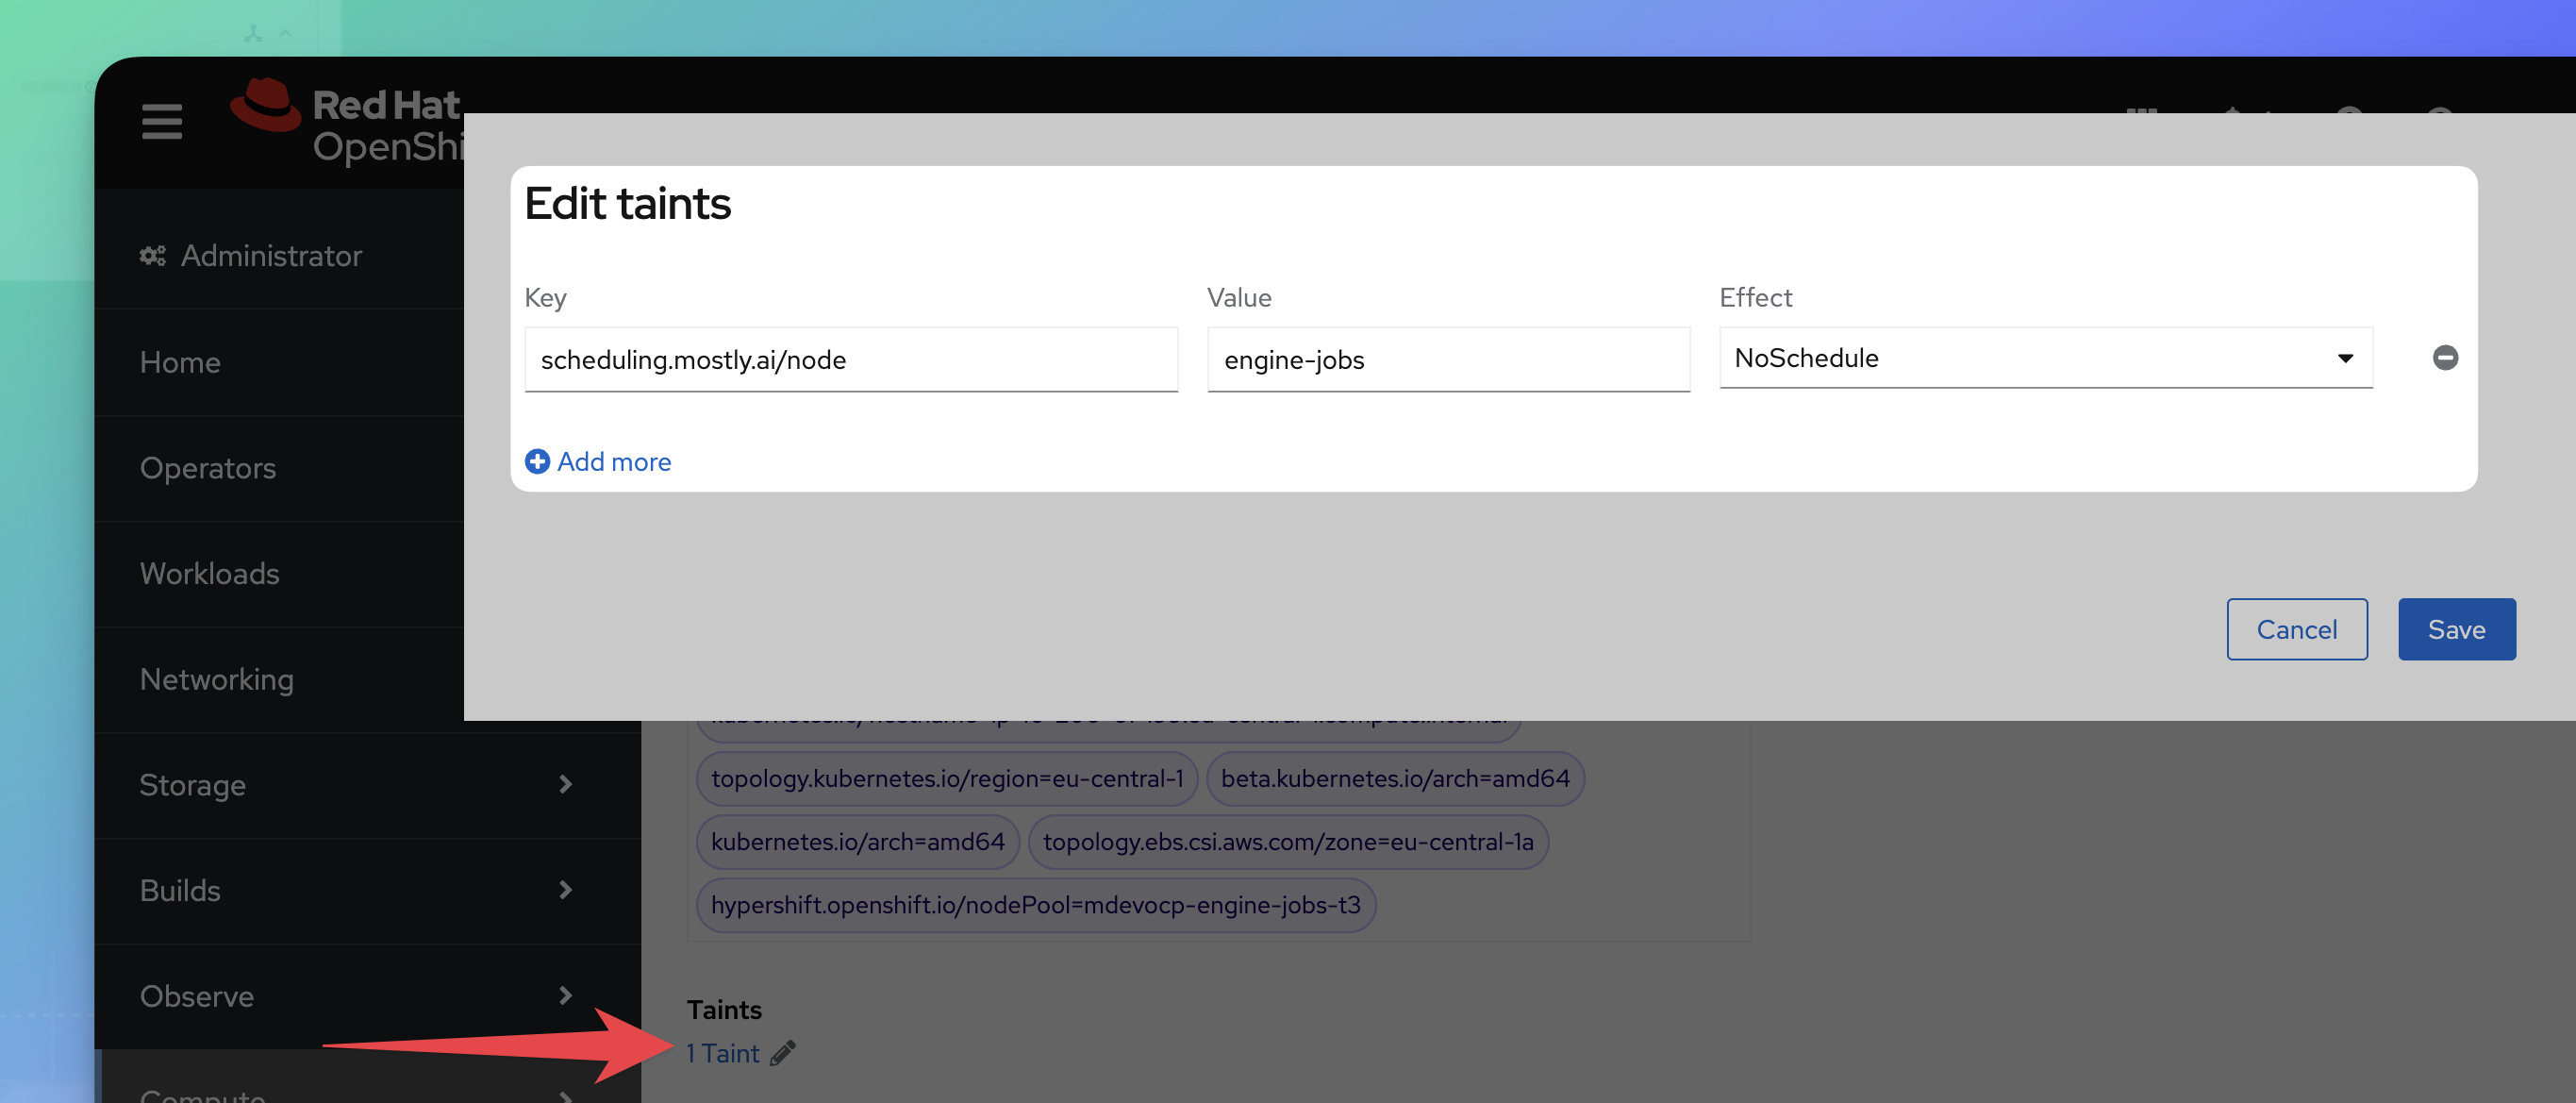
ocp-values.yamlfile. - Set the taint on the workers node on which MOSTLY AI compute jobs will run.
Get a list of your worker nodes.Apply the taint to each node you intend to use as a worker node.oc get nodesYou should see the following:oc taint nodes <node_name> scheduling.mostly.ai/node=engine-jobs:NoScheduleIn the OpenShift web console, select Compute, then Nodes. Click under Taints to review the list of taints for the node.node/<node_name> tainted
- Deploy MOSTLY AI with
helmfrom the same directory where you have theocp-values.yamlfile.helm upgrade --install mostly-ai ./mostly-combined --values ocp-values.yaml --namespace mostly-ai
What’s next
If all pods run as expected, you can log in for the first time to your MOSTLY AI deployment to set a new password for the superadmin user. Contact MOSTLY AI to obtain the superadmin credentials.
- In a web browser, open the FQDN for the deployment.
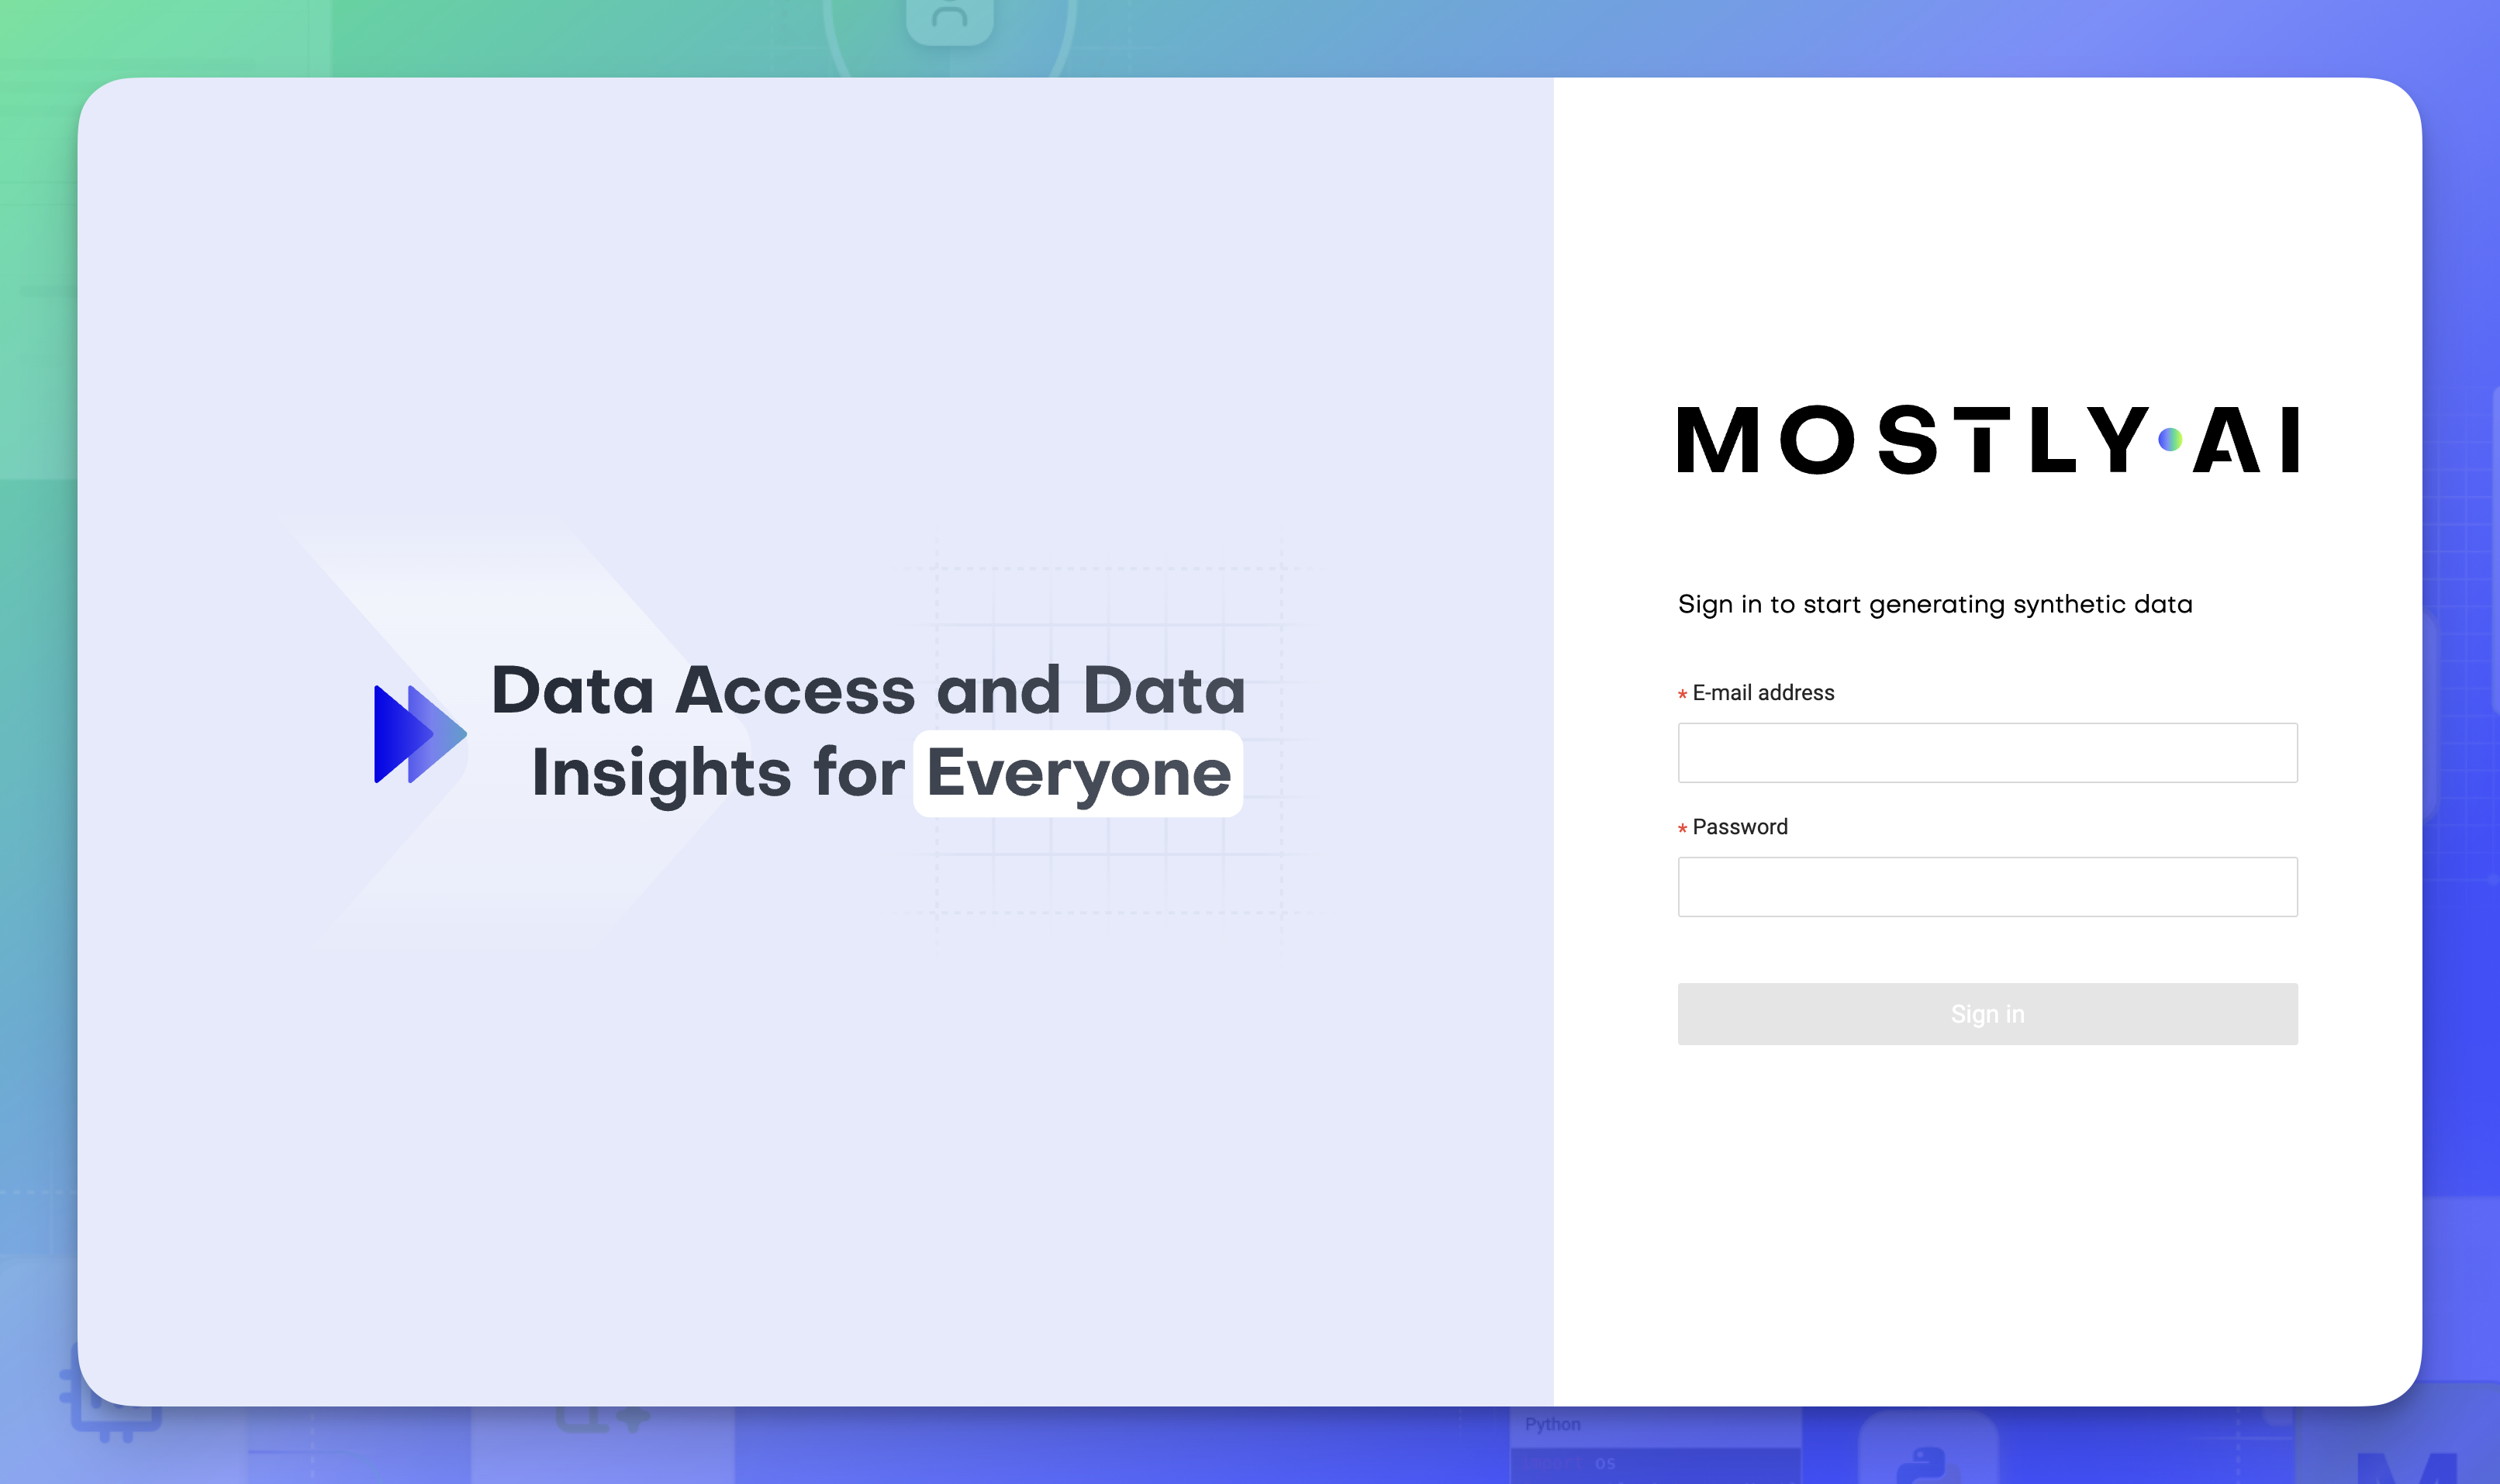
Step result: Your Sign in page for your MOSTLY AI deployment opens.

- Enter the superadmin credentials and click Sign in.
- Provide a new password and click Change password.
Your superadmin password is now changed and you can use it to log in again to your MOSTLY AI deployment.
You can run a quick test by following the Quick start for Model creators and Quick start for Data consumers.
If you run into issues, you can check the Troubleshoot OpenShift deployment issues.