Use Azure blob storage for synthetic data
To use Azure blob storage as a data source or destination for your synthetic data, you need to create an Azure connector.
If you want to keep your generated synthetic data in a separate Azure blob container, you need to create a second connector that points to that container.
Collect Azure storage account name and access key
To create an Azure storage connector in MOSTLY AI, you need to first obtain your Azure storage account name and access key.
Steps
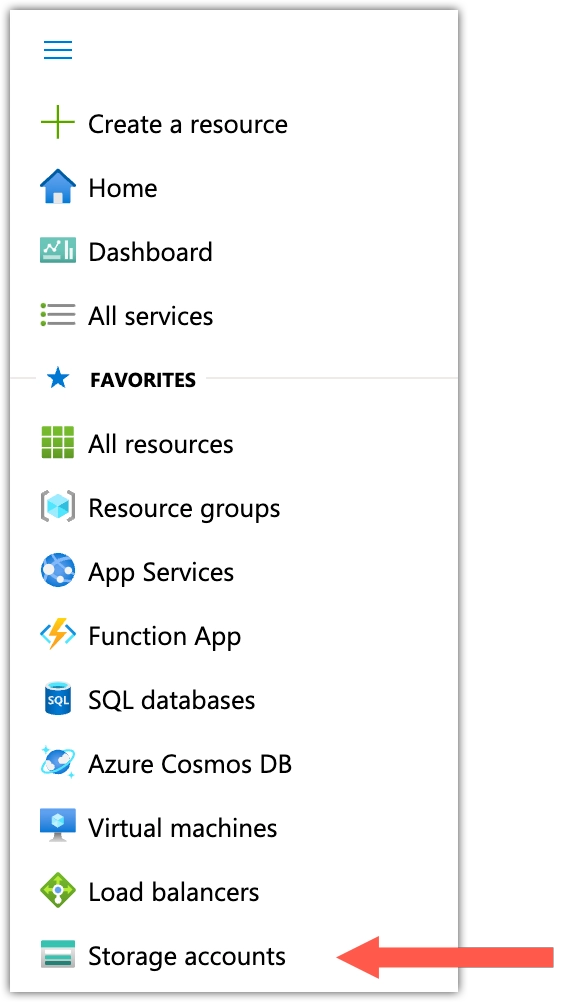
- In Azure, select Storage accounts from the sidebar.
- Copy your storage account name.
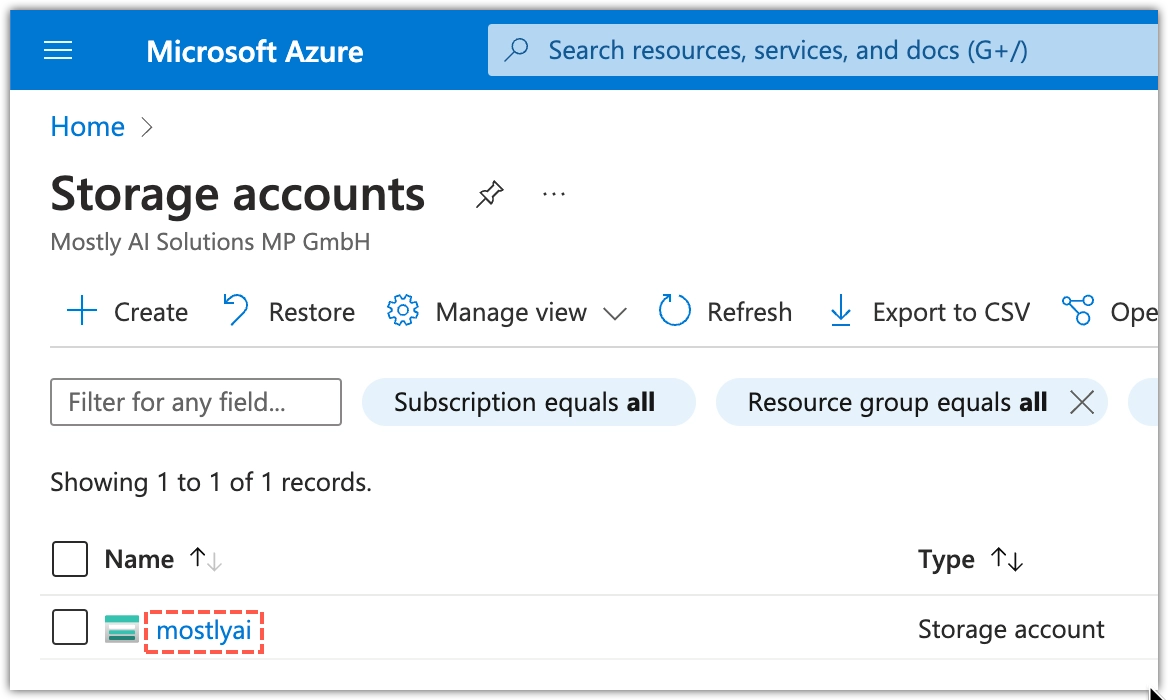
- Click your storage account name.
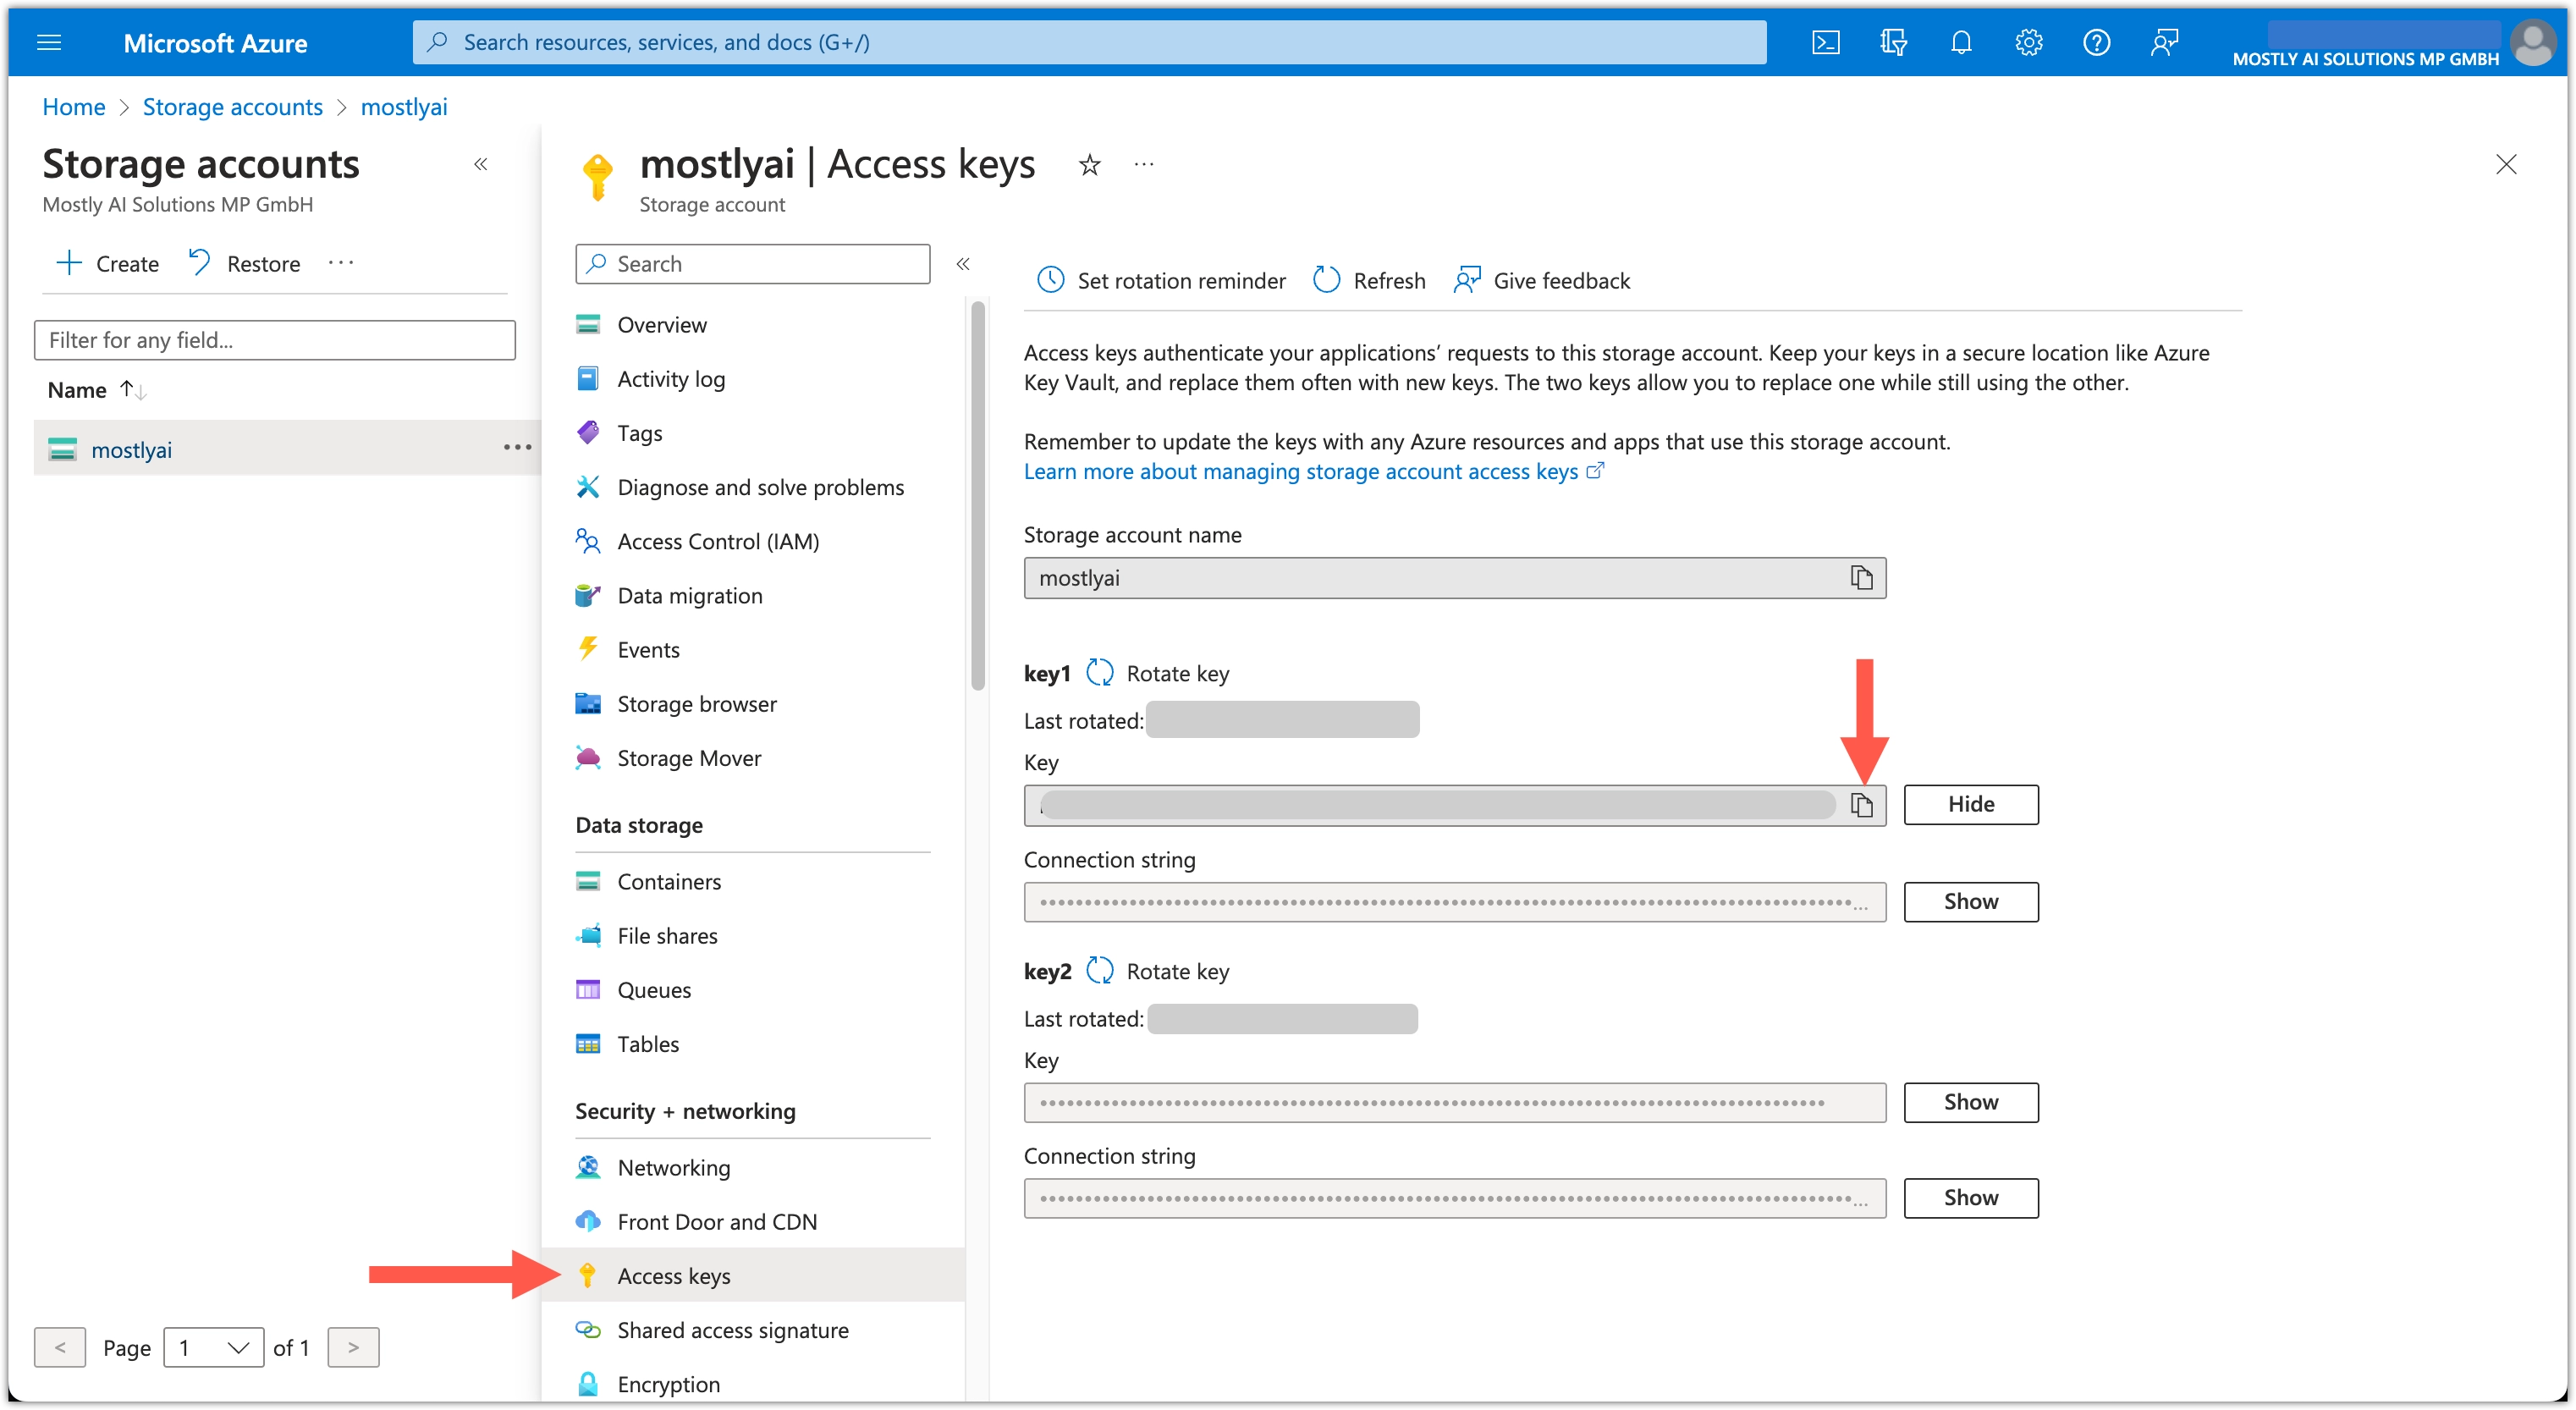
- For the access key you want to use, click Show and then Copy to clipboard.
Create an Azure storage connector
With the Azure storage account name and access key, you can now create your Azure storage connector.
Create a new Azure blob storage connector from the Connectors page.
Steps
- From the Connectors page, select Microsoft Azure under the Connect your data header.
- On the New connector modal, configure the connector.
| Field | Description |
|---|---|
| Name | Enter a name that you can distinguish from other connectors. |
| Access type | Select whether you want to use the connector as a source or destination. |
| Account name | Your Azure account name. |
| Account key | Your Azure account key. |
- Click Save to save your new Azure connector.
- MOSTLY AI tests the connection. If you see an error, check the connection details, update them, and click Save again.
- You can click Save anyway to save the connector and disregard any errors.
- MOSTLY AI tests the connection. If you see an error, check the connection details, update them, and click Save again.
Authenticate with a Service principal
With MOSTLY AI, you can use a Service principal account to access original data stored in Azure blob storage.
In the web application, the Azure connector configuration includes configuration details that support the authentication with a Service principal account.
Steps
- To use a Service principal for authentication in your Azure storage connector, select the Authenticate with Service Principal checkbox.
- On the New connector modal, configure the Azure connector with a Service principal account.
| Field | Description |
|---|---|
| Name | Enter a name that you can distinguish from other connectors. |
| Access type | Select whether you want to use the connector as a source or destination. |
| Tenant ID | Your tenant ID. |
| Client ID | Your client ID. |
| Client secret | Your client secret. |
- Click Save to save your new Azure connector.
- MOSTLY AI tests the connection. If you see an error, check the connection details, update them, and click Save again.
- You can click Save anyway to save the connector and disregard any errors.
- MOSTLY AI tests the connection. If you see an error, check the connection details, update them, and click Save again.
What’s next
Depending on whether you created a source or a destination connector, you can use the connector as:
- Data source for a new generator
- Data destination for a new synthetic dataset