AWS Marketplace Deployment
MOSTLY AI is available via the AWS Marketplace.
Prerequisites
- An AWS account
Deployment
Deployment Overview, Requirements and Prerequisites are available in the GitHub repository.
You will also find installation examples, which may be used as a step-by-step installation guide via Terragrunt.
Post-deployment
- Once the installation has been completed, you can access the Platform via the DNS name (FQDN) used during the setup.
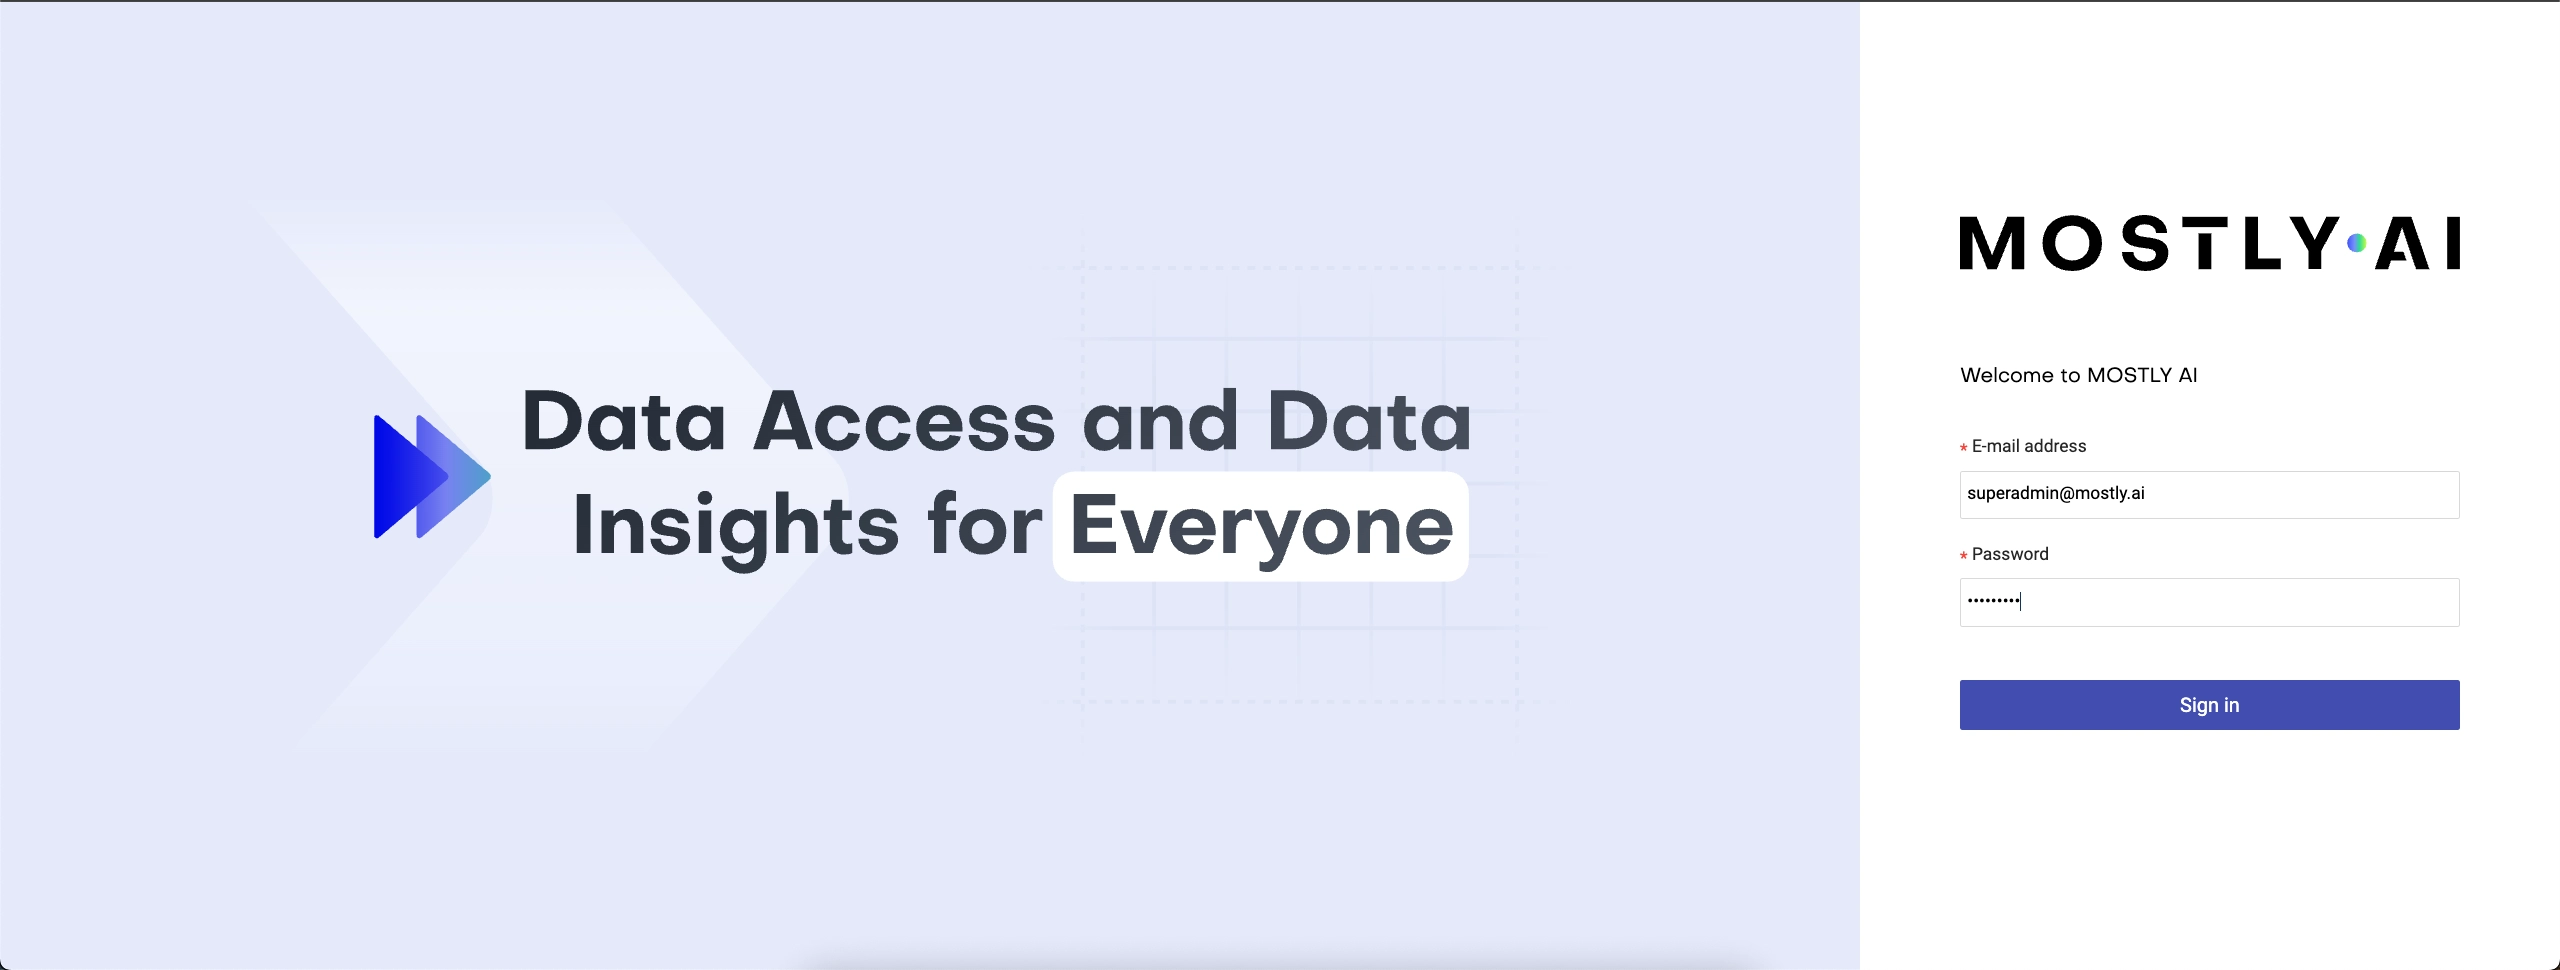
- Log in using the superadmin credentials:
- If following an examples-based installation, the superadmin credentials will be the ones defined in
helm-stack/mostly-combined/terragrunt.hcl. - Otherwise, use the default ones.
- If following an examples-based installation, the superadmin credentials will be the ones defined in
Result
Now you have a fully functional deployment of MOSTLY AI in your own AWS environment! 🎉
Change Keycloak admin password
-
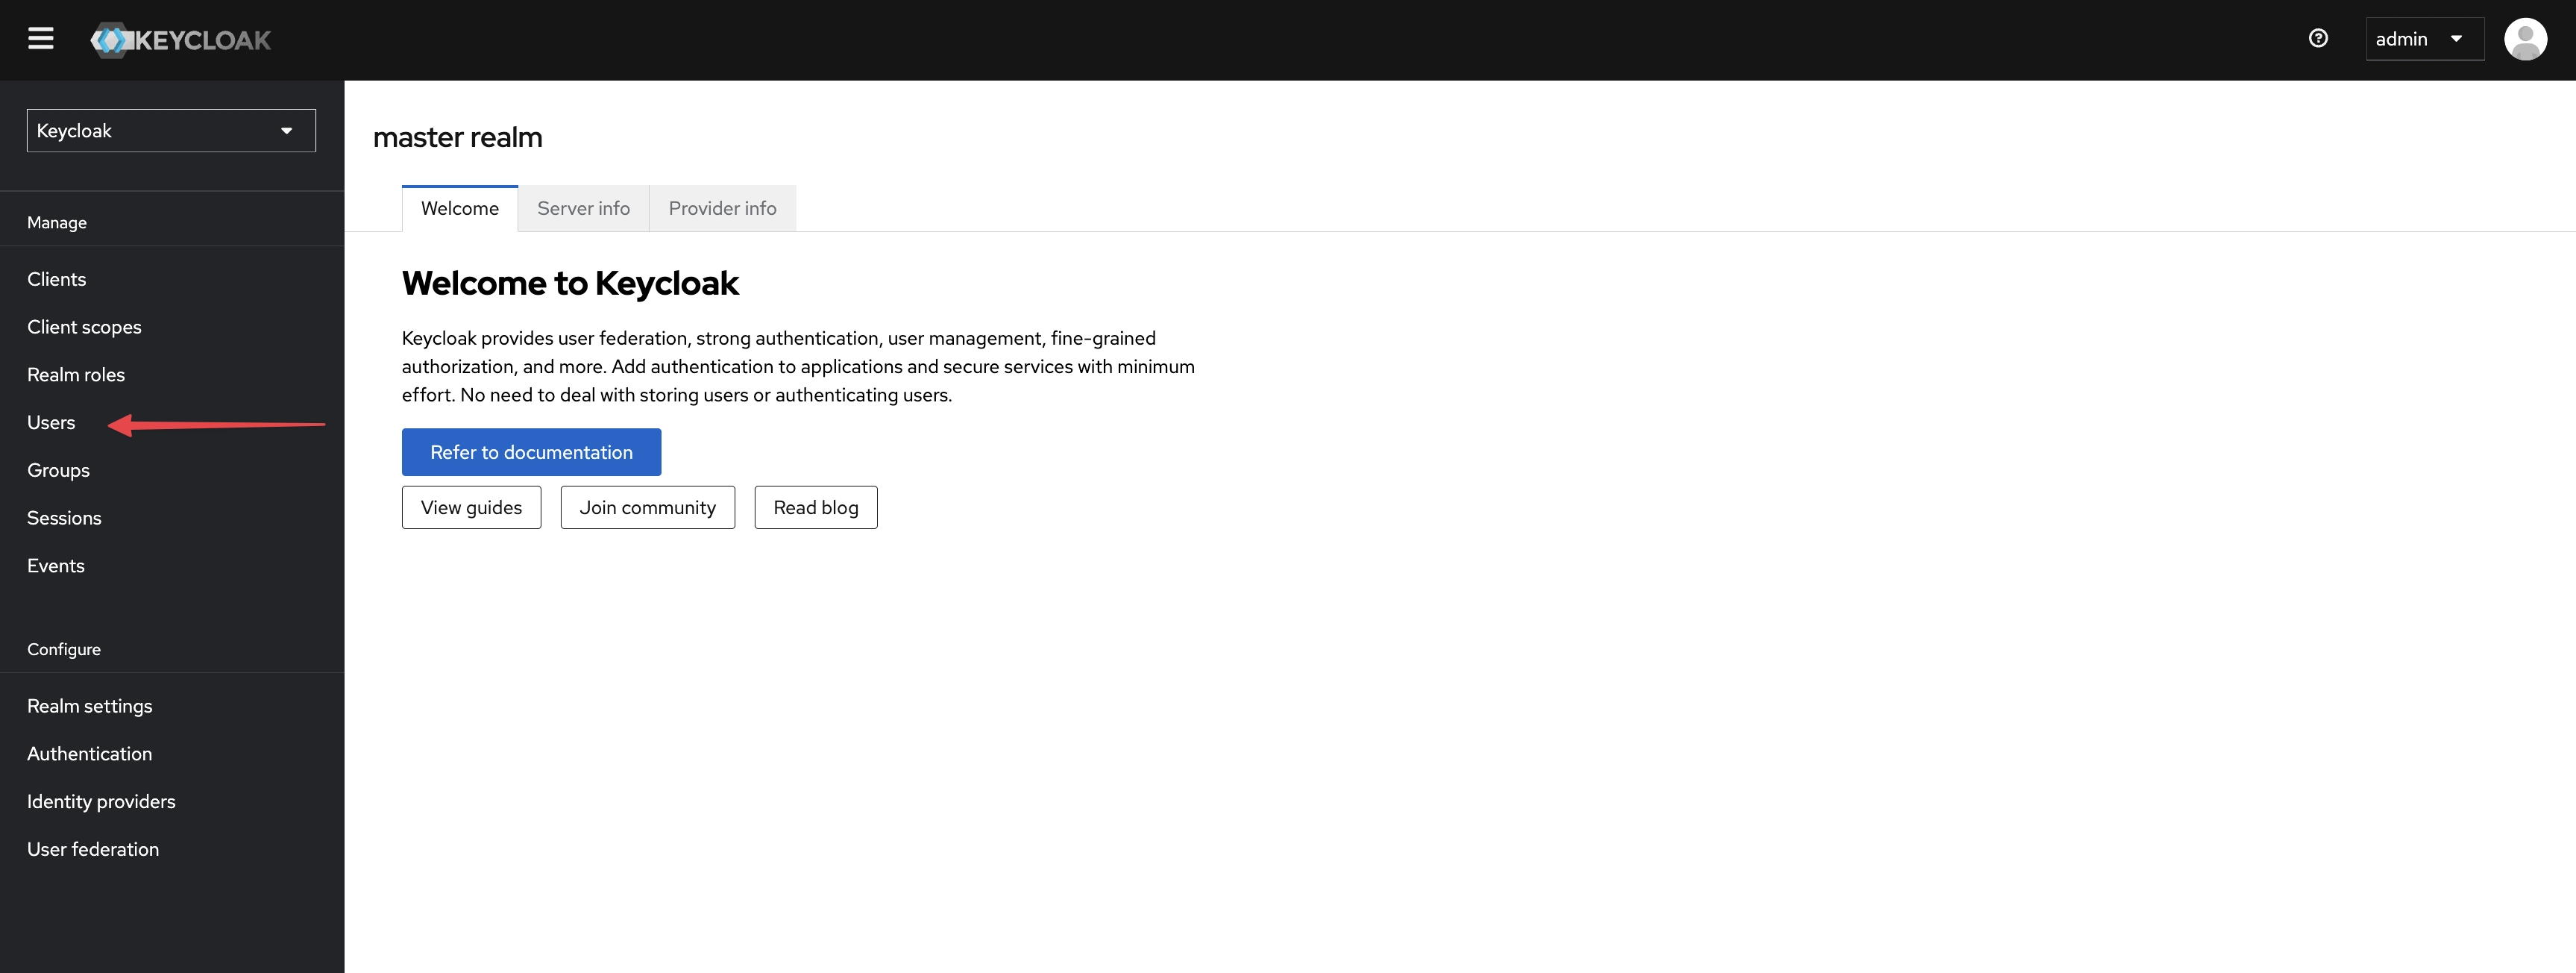
Access the Keycloak admin console by navigating to
https://<your-load-balancer-dns>/auth/admin -
Log in with the default Keycloak admin credentials:
- Username:
admin - Password:
admin
- Username:
-
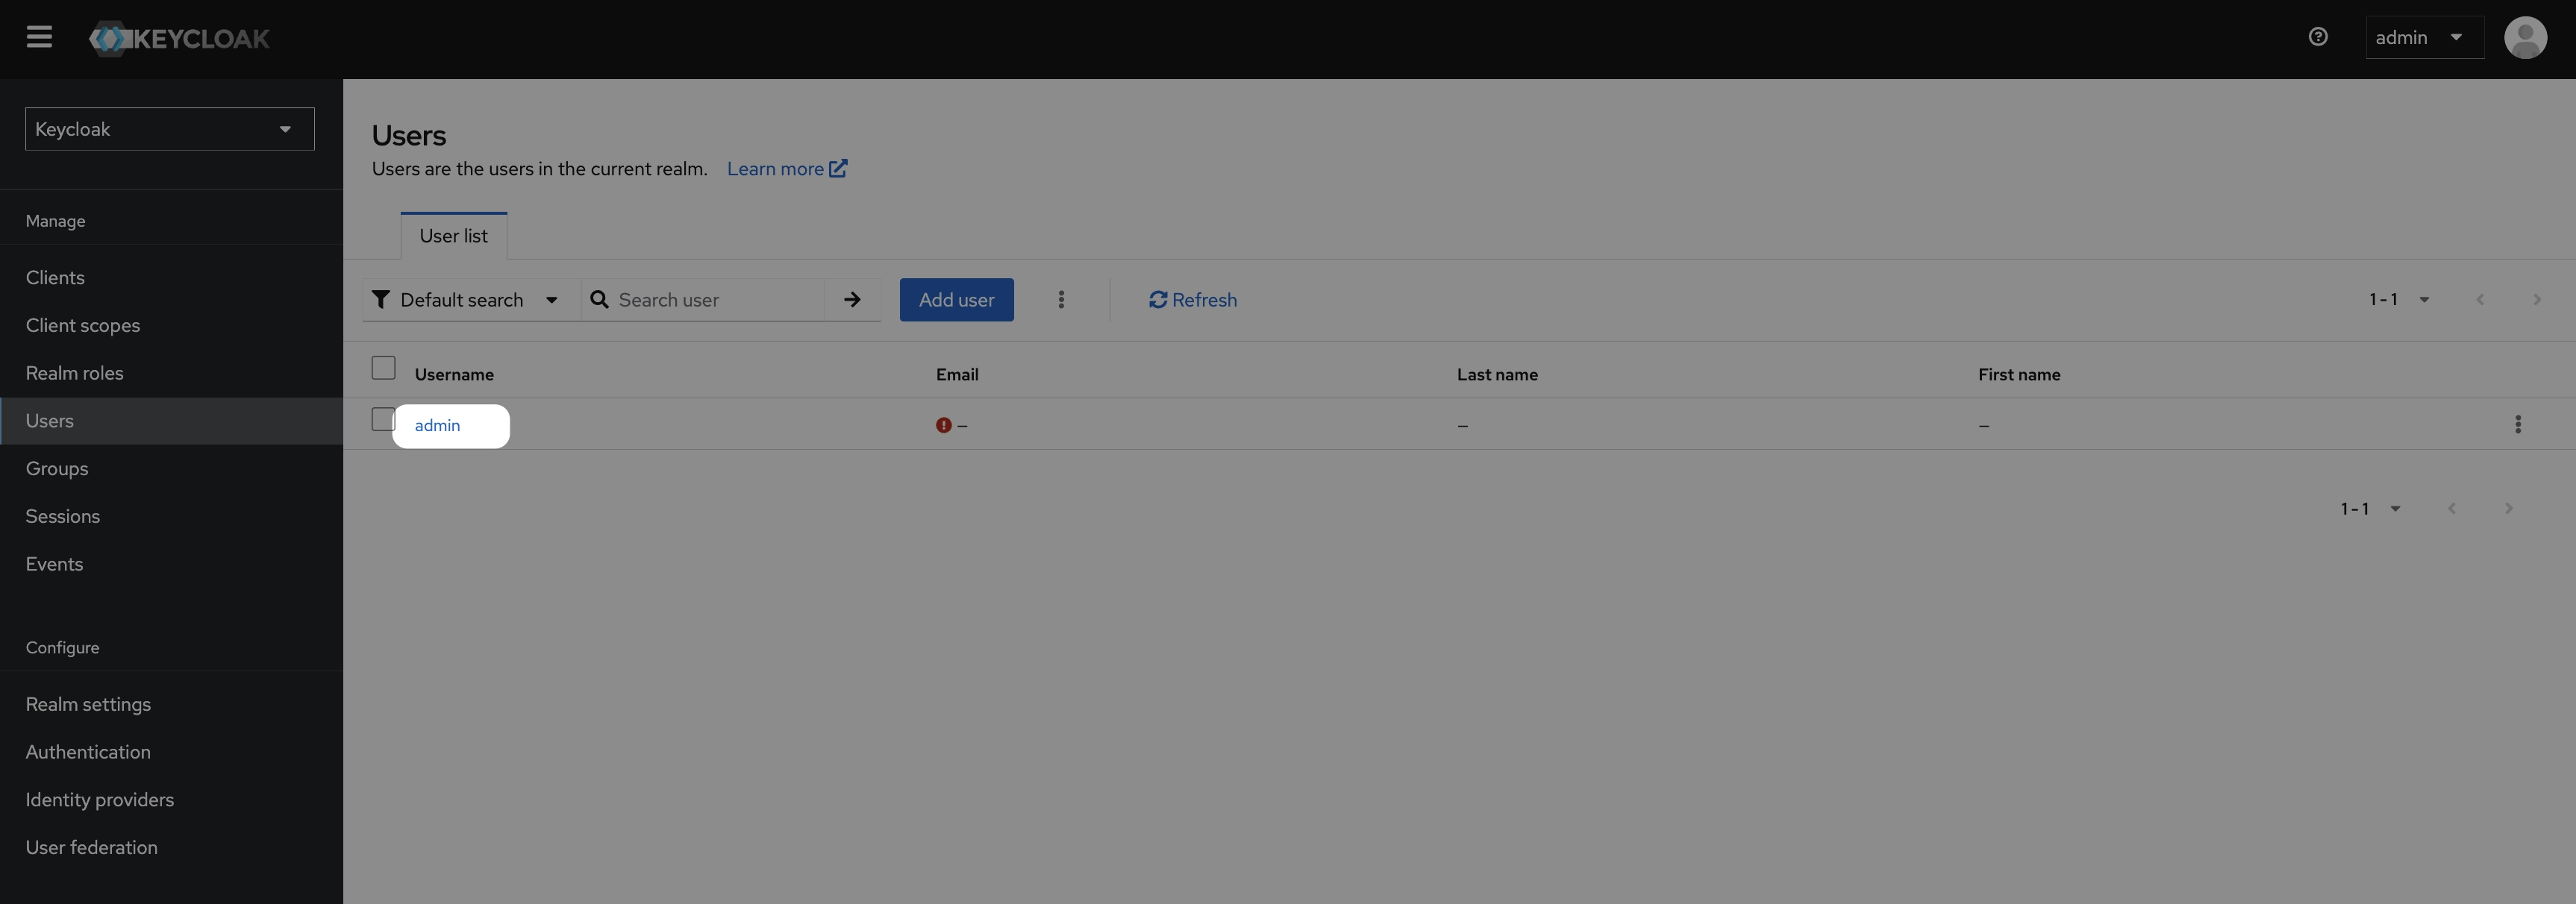
Navigate to Manage > Users
- Select the admin user
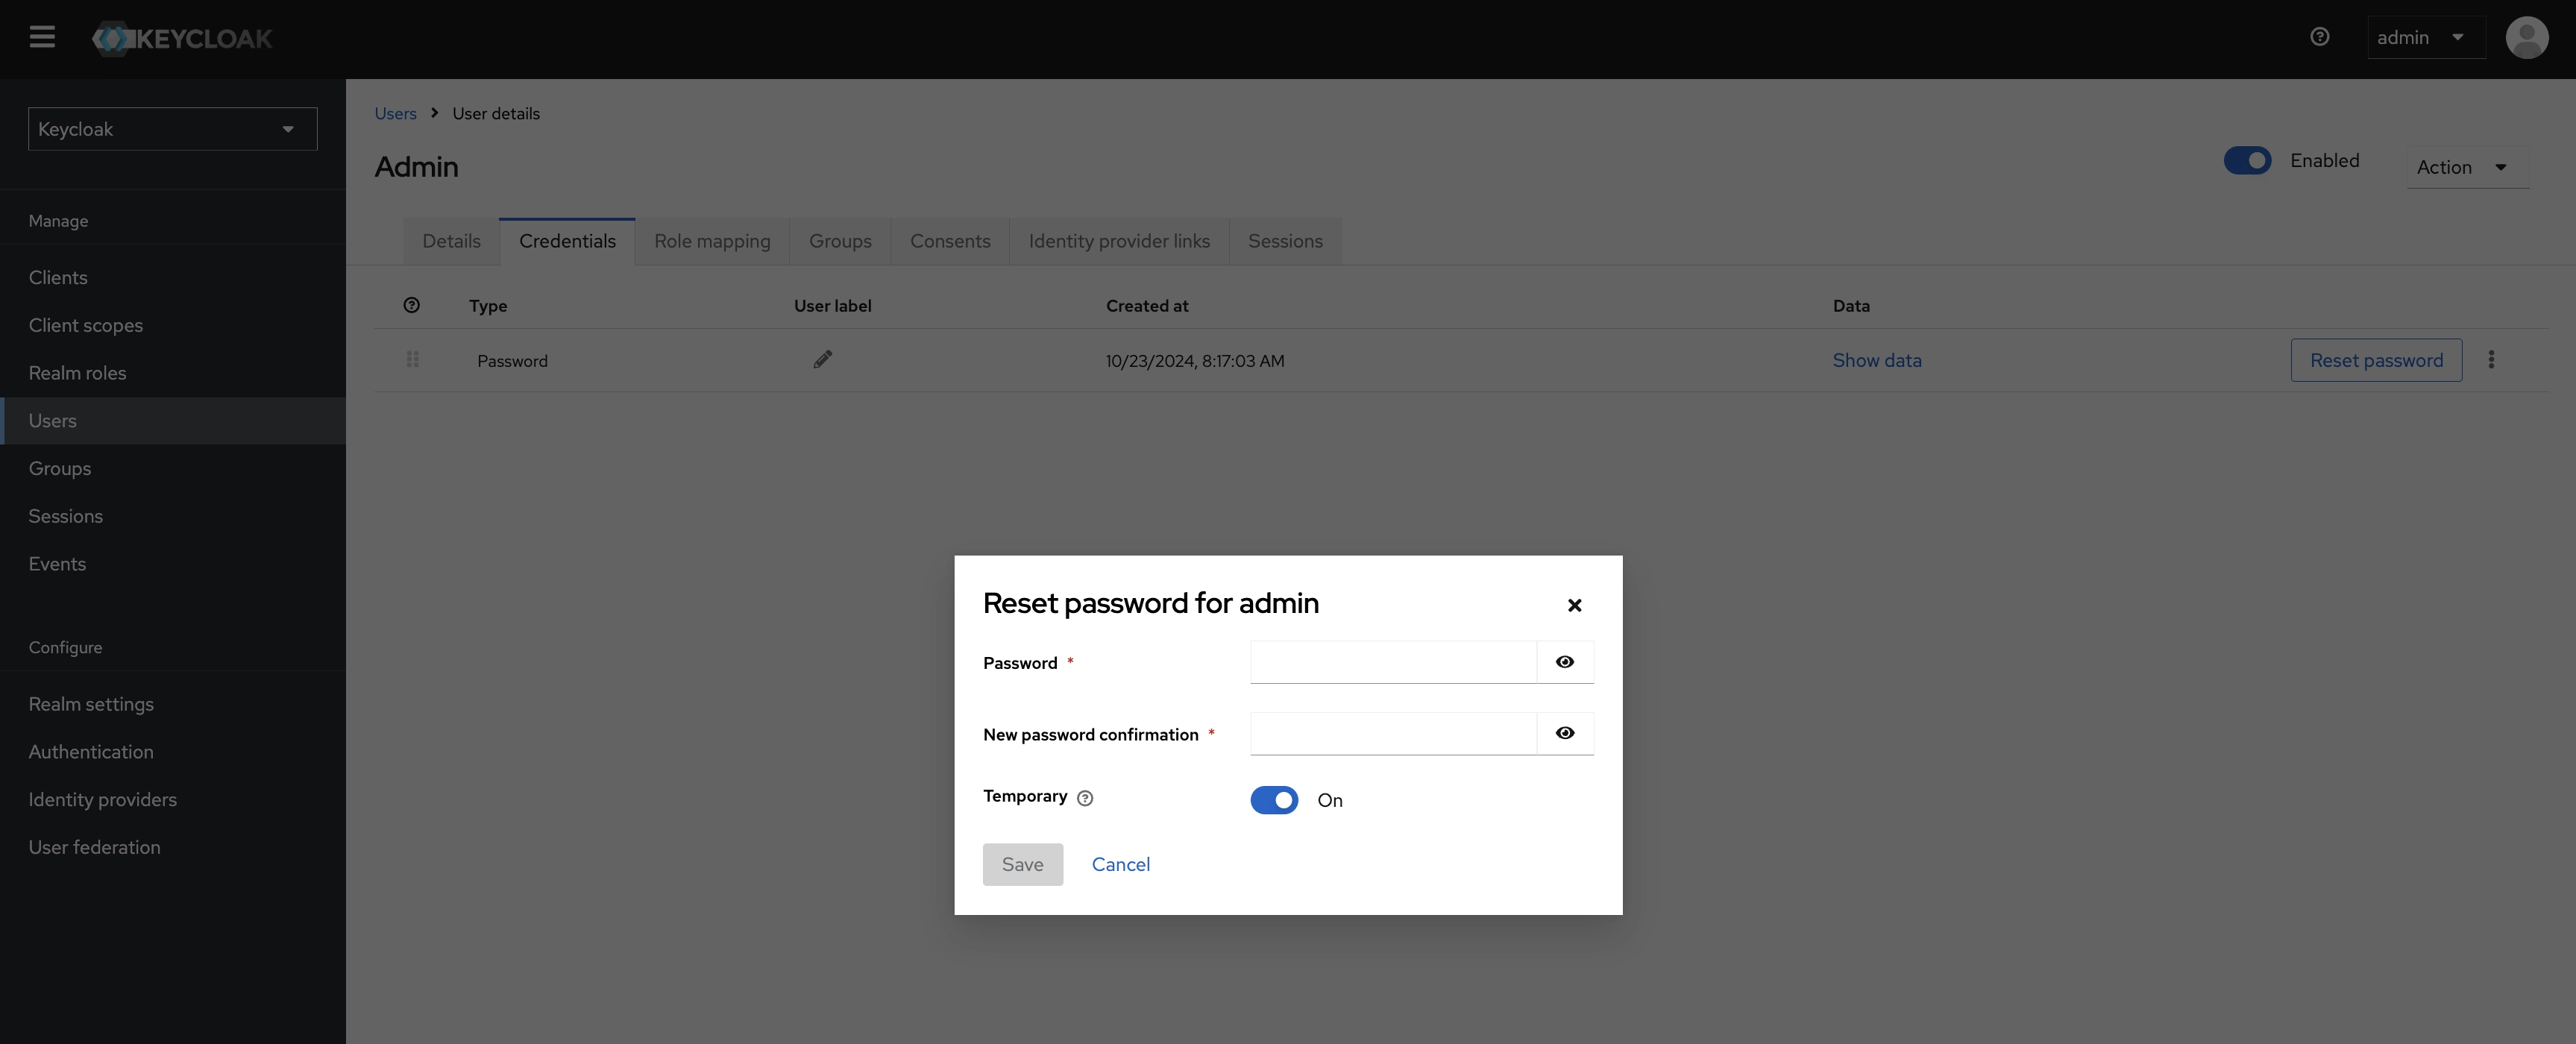
- Click the Reset password button under Credentials tab
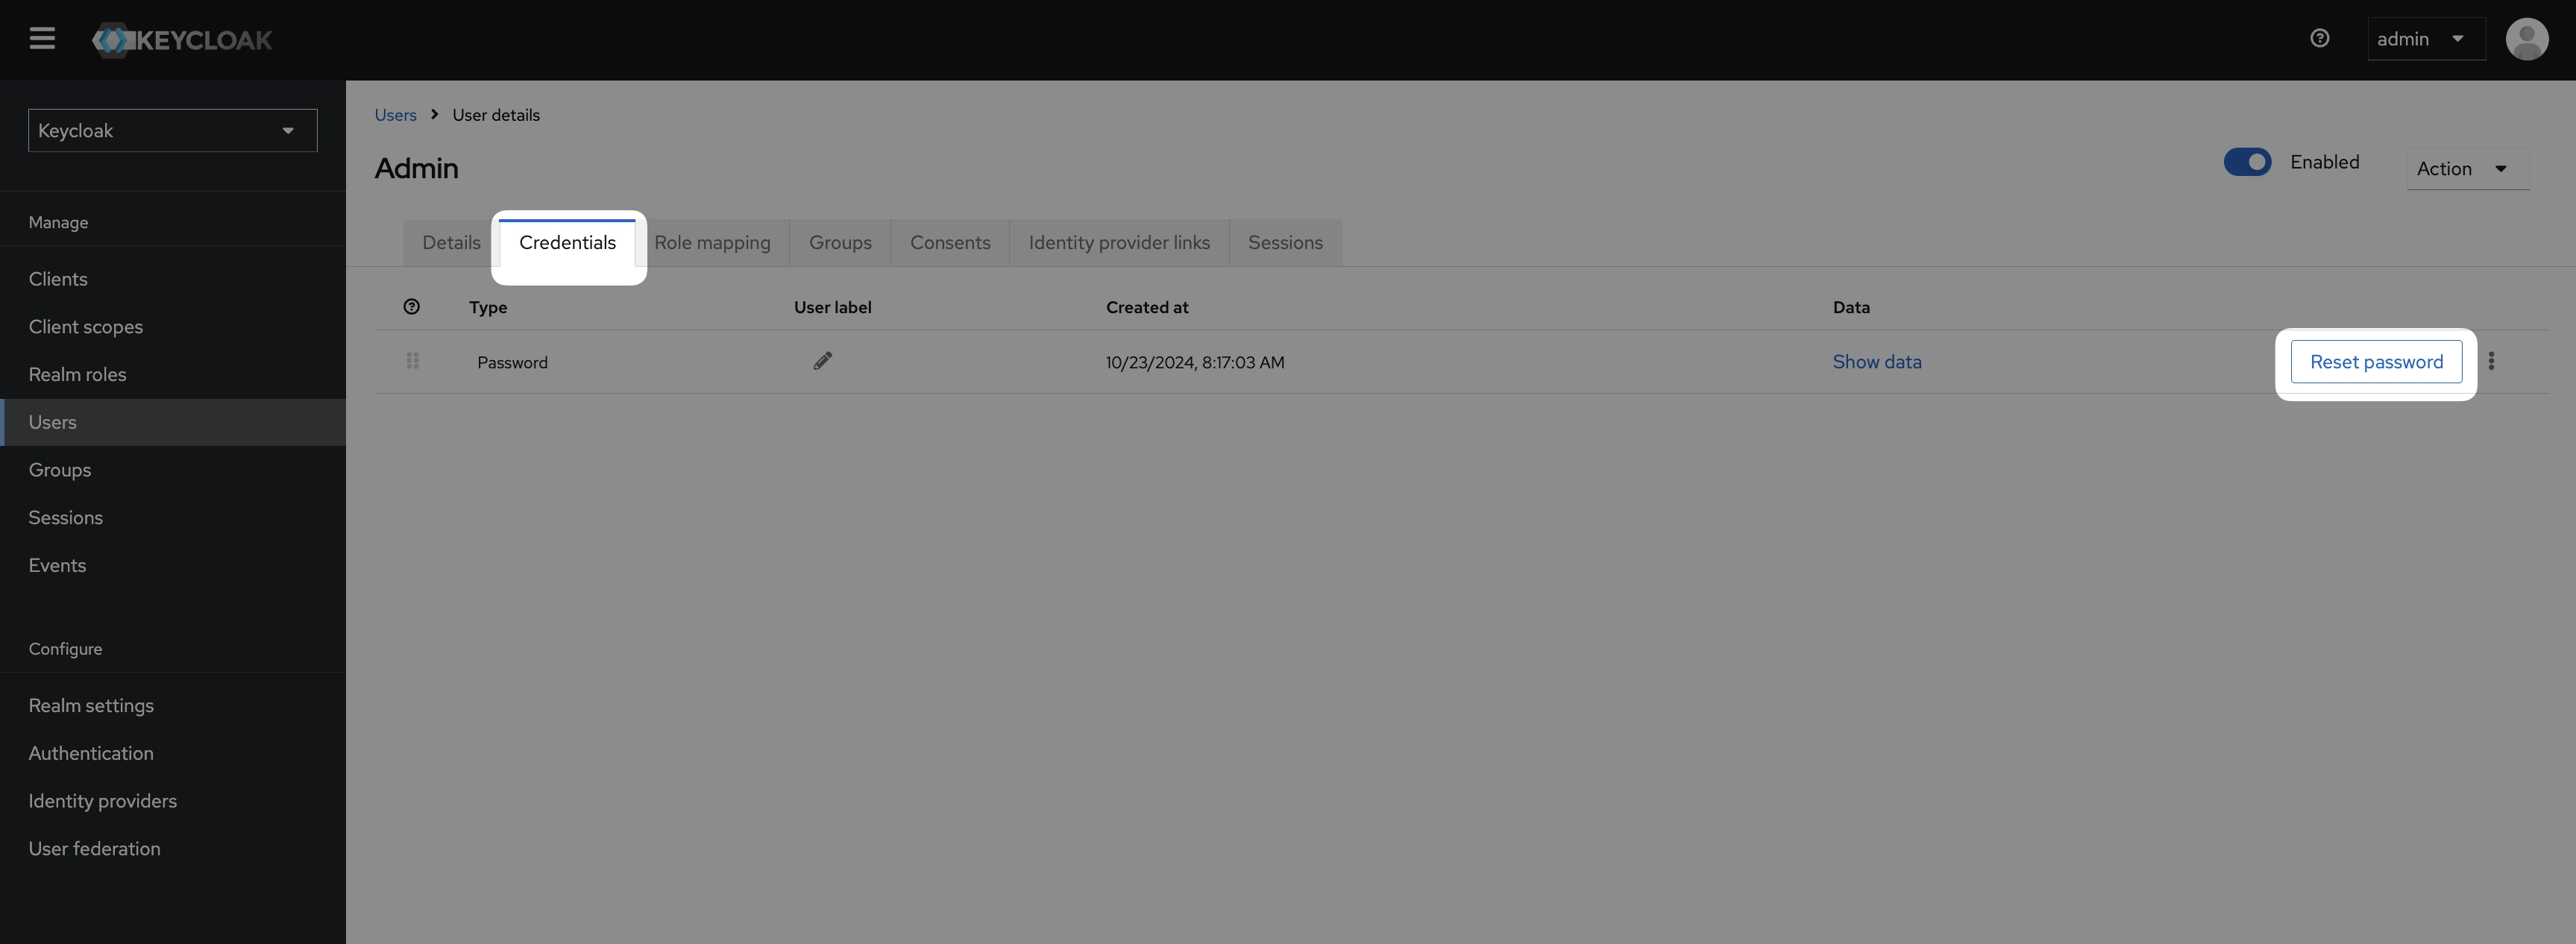
- Set a new secure password for the Keycloak admin account
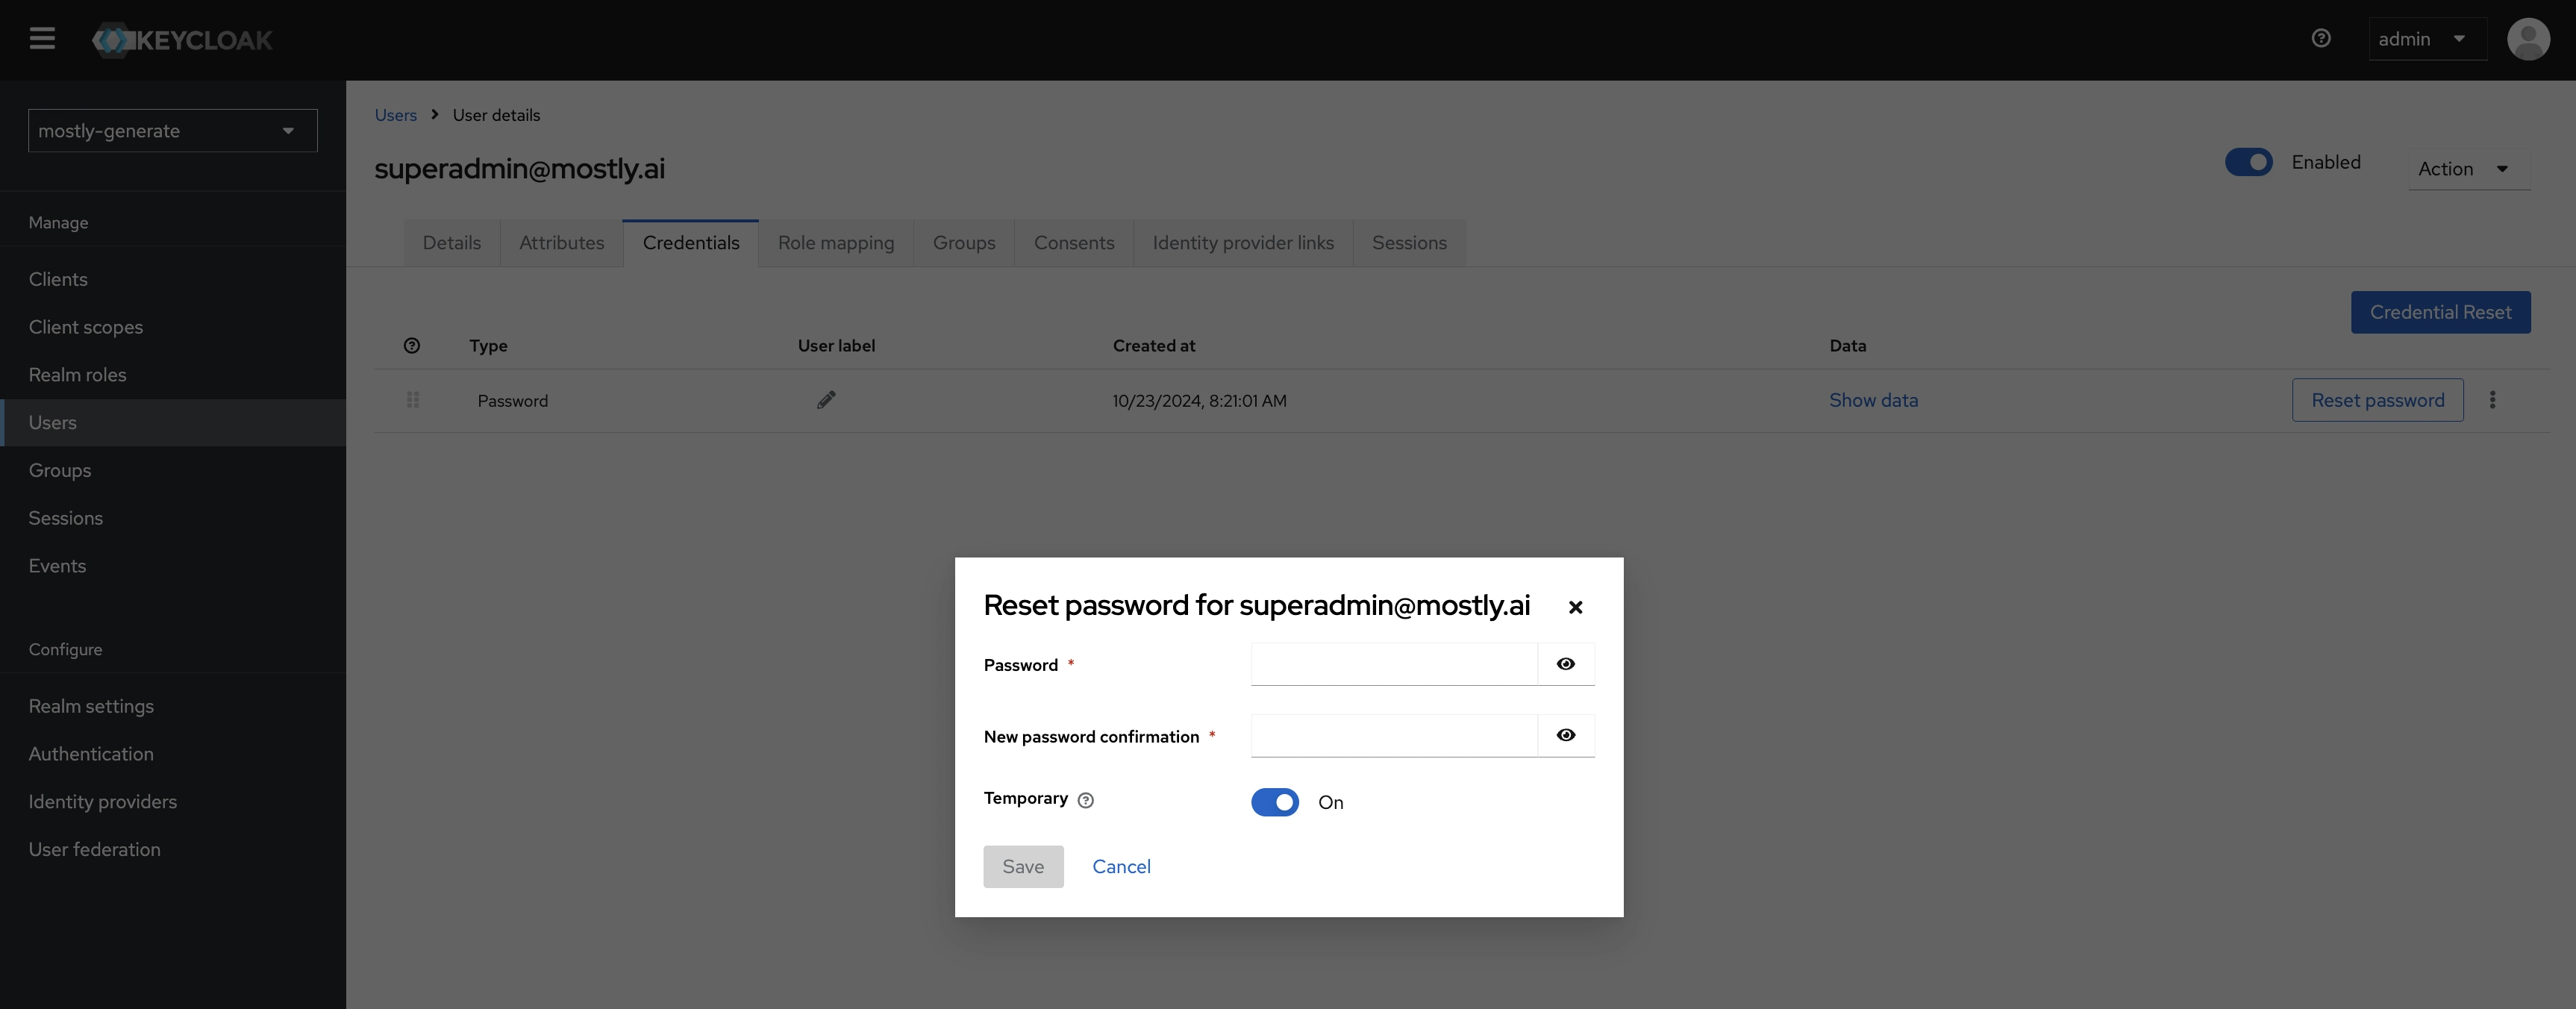
Change superadmin password
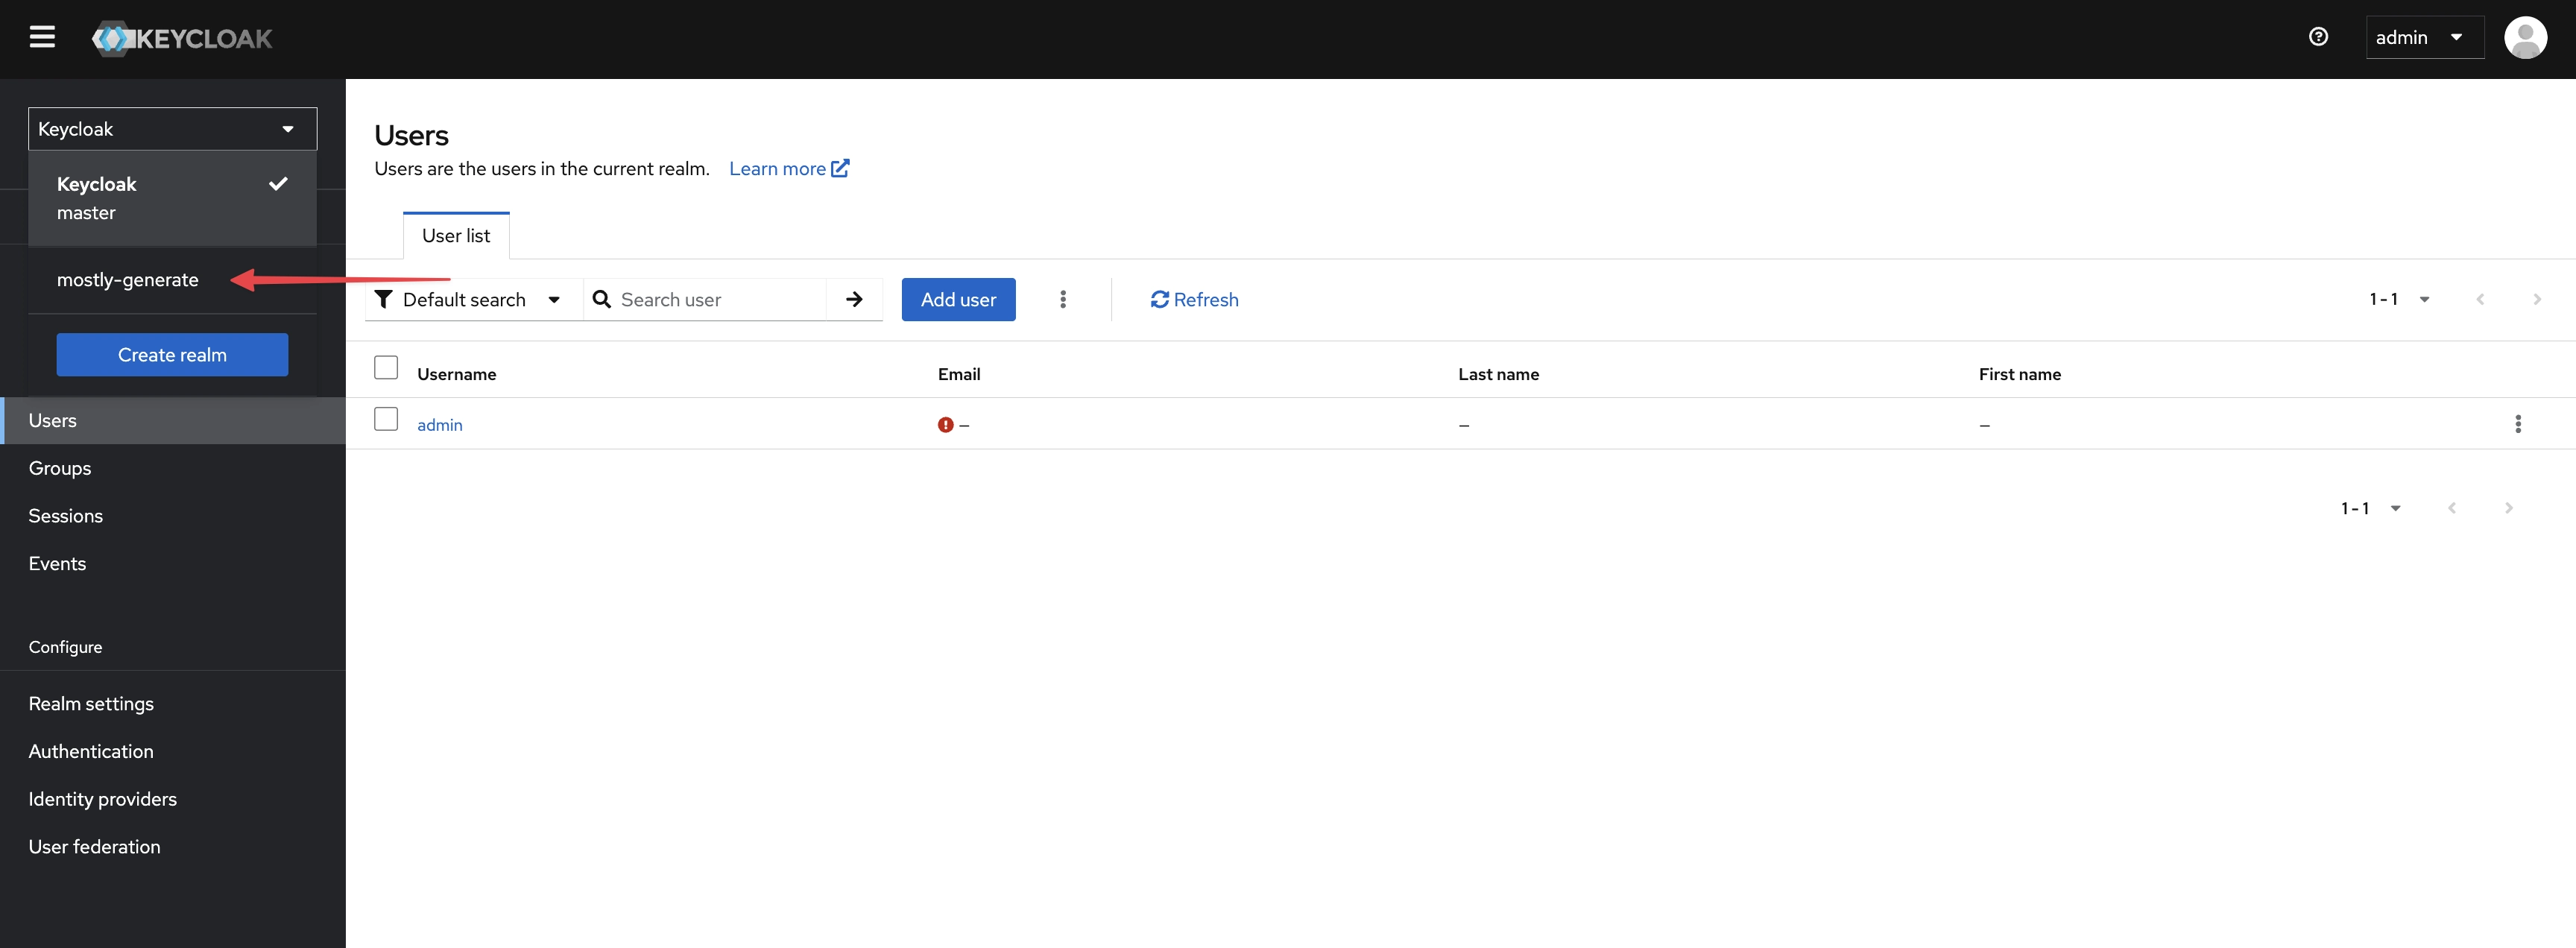
- Select mostly-generate from the dropdown menu at the top left
-
Navigate to Manage > Users
-
Select the superadmin user

- Click the Reset password button under Credentials tab
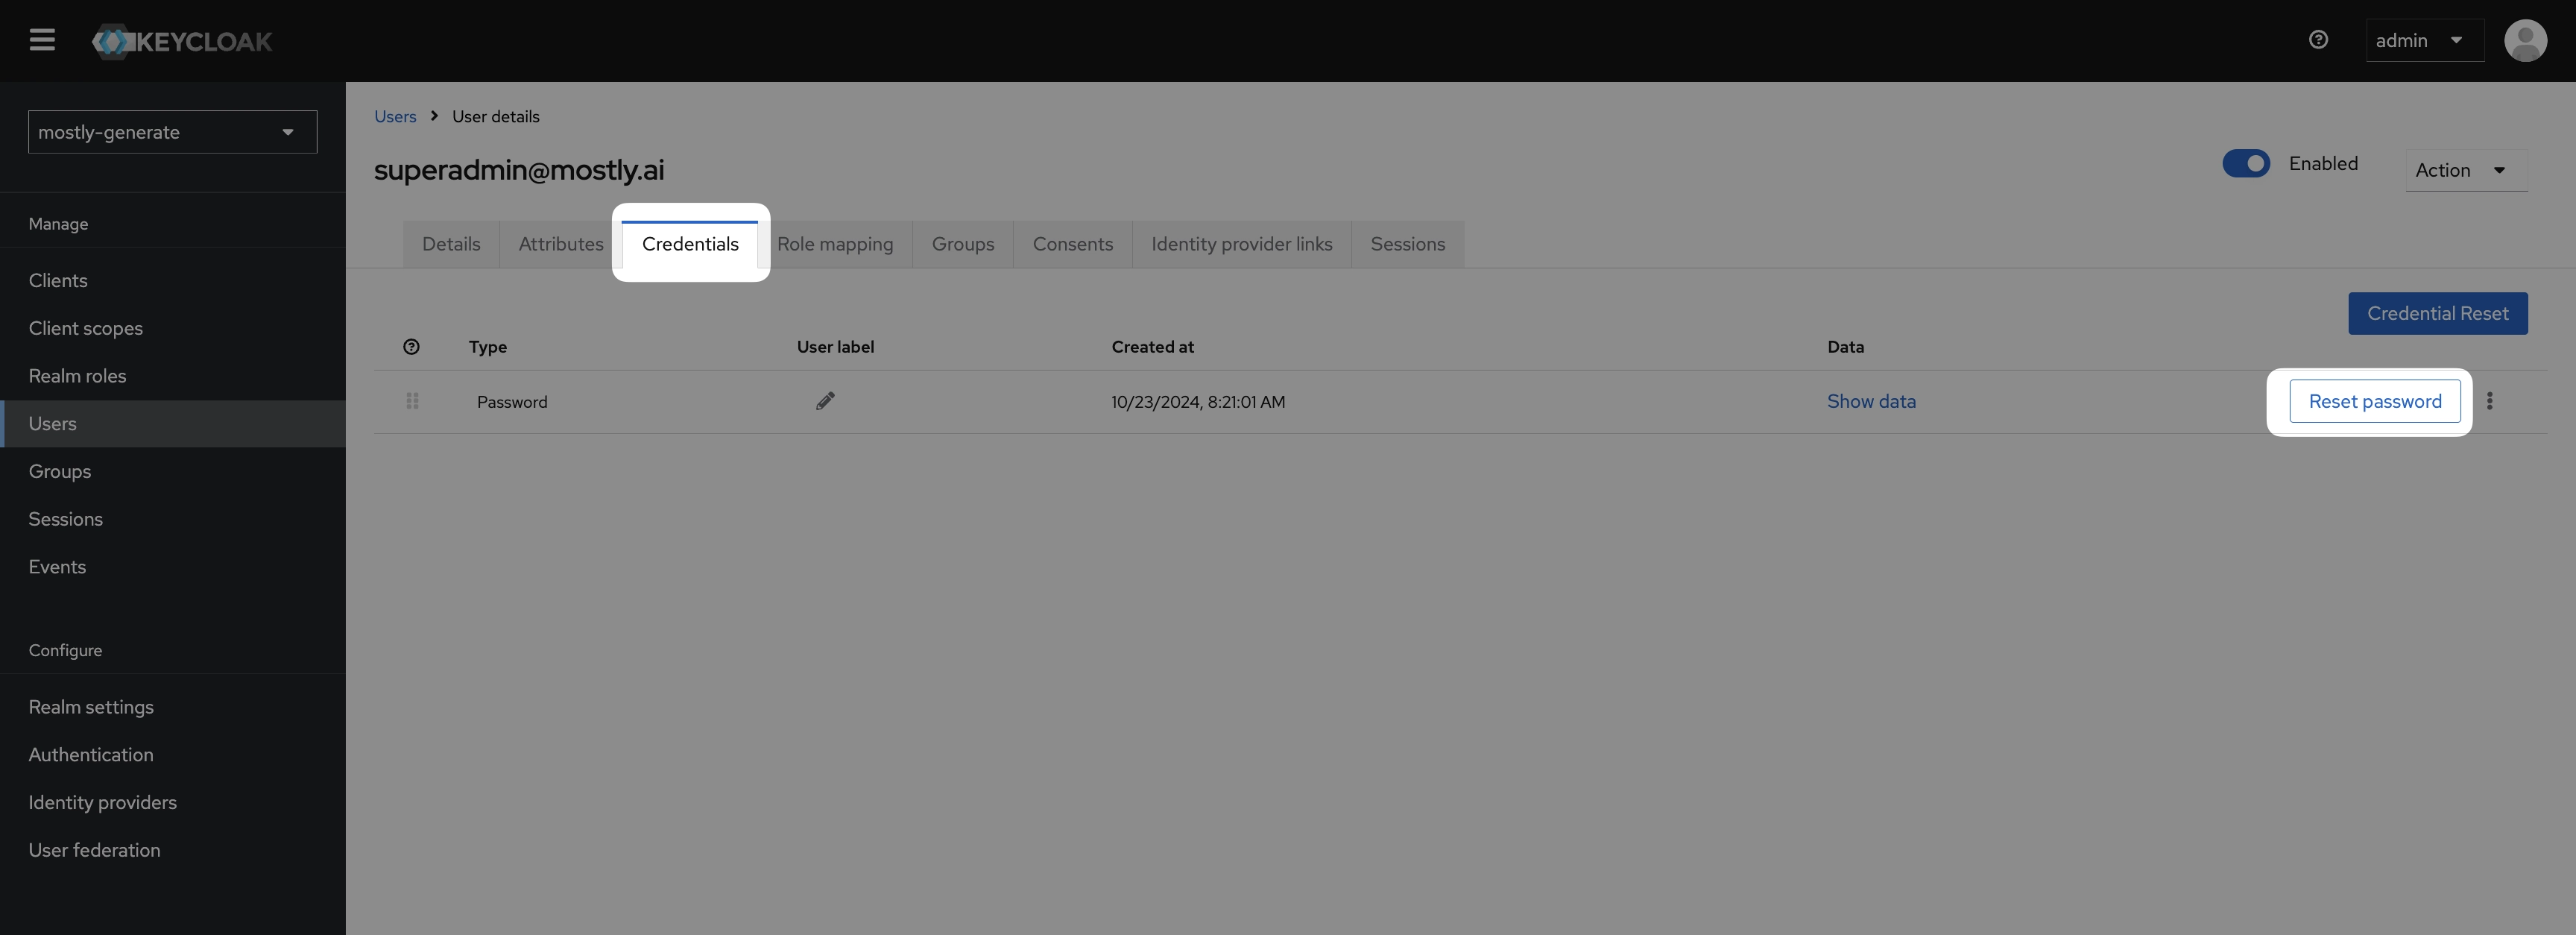
- Set a new secure password for the superadmin account