Use Snowflake for synthetic data
With MOSTLY AI, you can connect to Snowflake and use it as a data source or destination for your synthetic data.
Prerequisites
To create a Snowflake connector, you need either your Snowflake account identifier or your account URL.
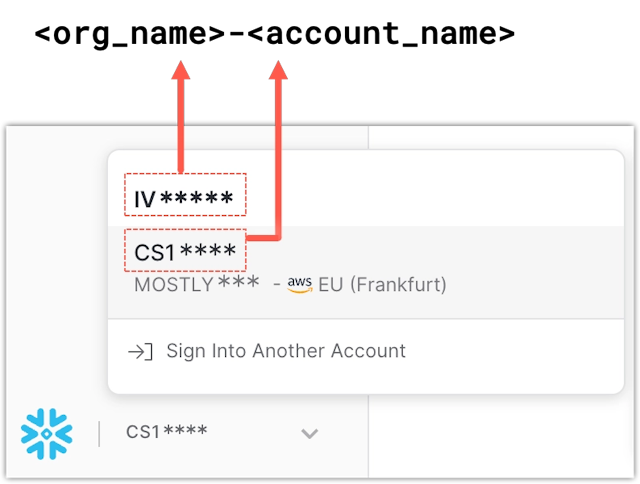
Account identifier format: <org_name>-<account_name>
Account identifier URL format:
https://<org_name>-<account_name>.snowflakecomputing.com
For more information, see the Snowflake documentation.
Get your Snowflake account identifier
- In Snowflake, open the Account menu in the lower left.

- Copy the organization name and account name and put them together in an account identifier, separated with a dash.
Get your Snowflake account URL
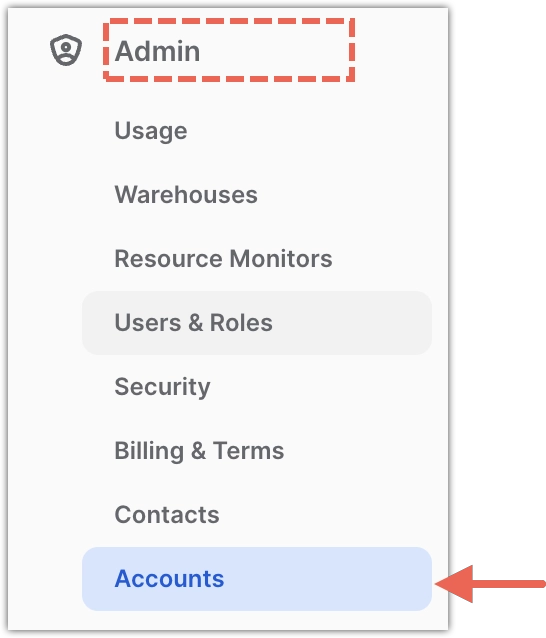
- In Snowflake, select Admin > Accounts.
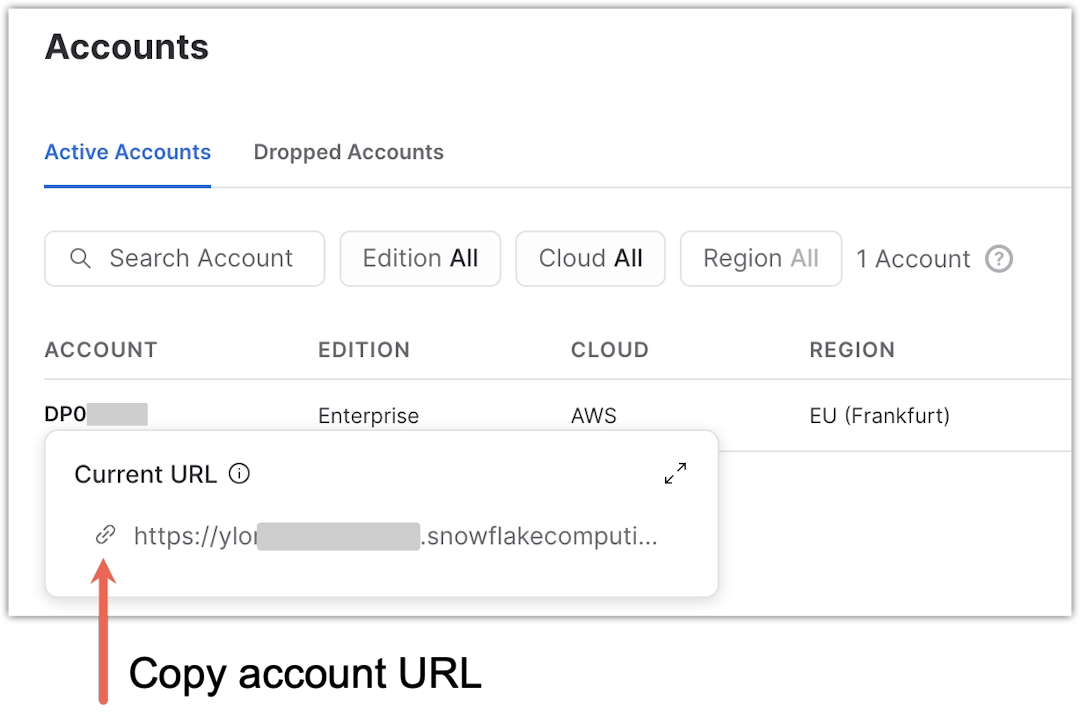
- Under Accounts, hover over your account identifier and click Copy account URL link.
Create a Snowflake connector
If you use the web application, create a new Databricks connector from the Connectors page.
Steps
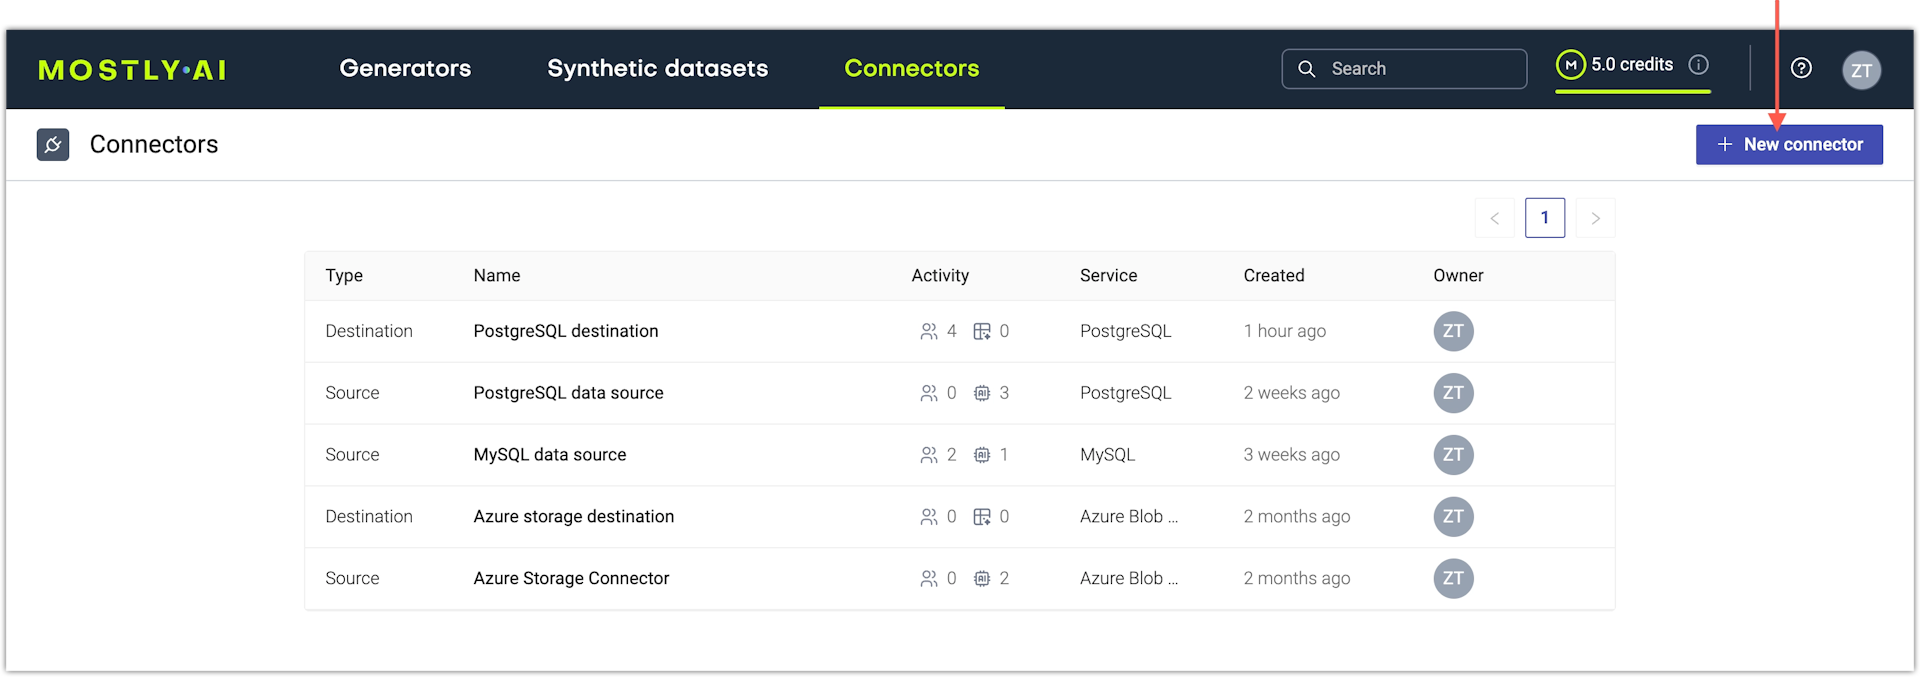
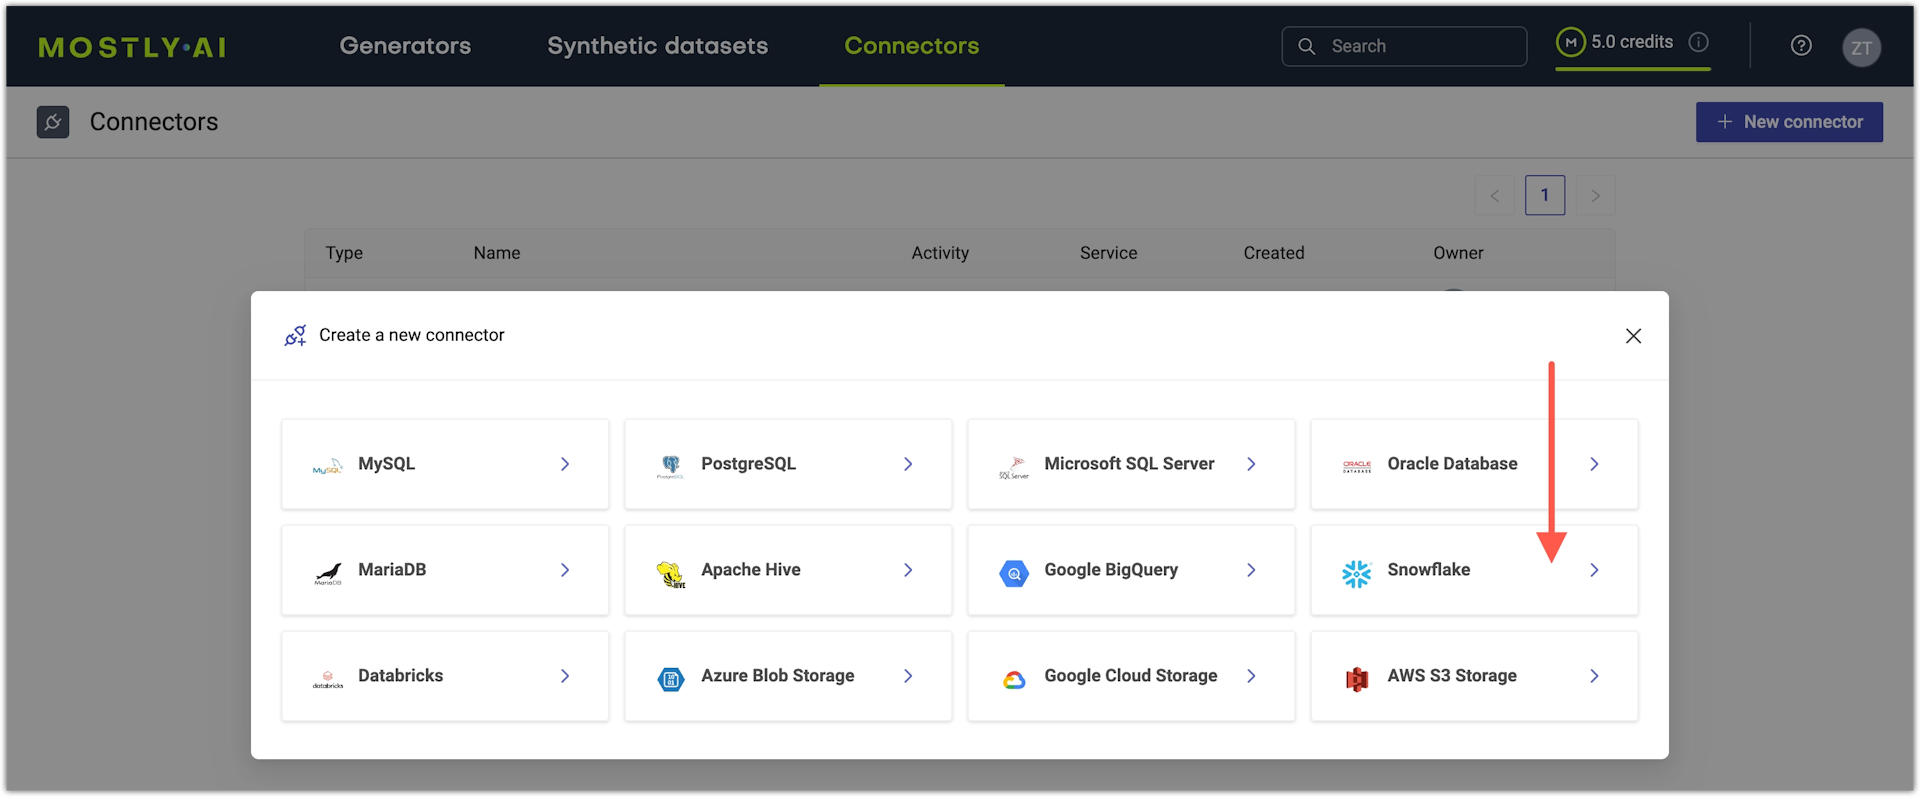
- From the Connectors page, click New connector.
- From the Create a new connector window, select Snowflake.
- From the New connector window, configure the Snowflake connector.
- For Name, enter a name that you can distinguish from other connectors.
- For Access type, select whether you want to use the connector as a source or destination.
- For Account, enter your Snowflake account identifier.
For more information, see the Prerequisites above. - For Username and Password, enter your Snowflake credentials.
- For Database, enter the name of a Snowflake database.
- For Warehouse, enter the warehouse you want to use.
By default, MOSTLY AI uses the default Snowflake warehouse
COMPUTE_WH.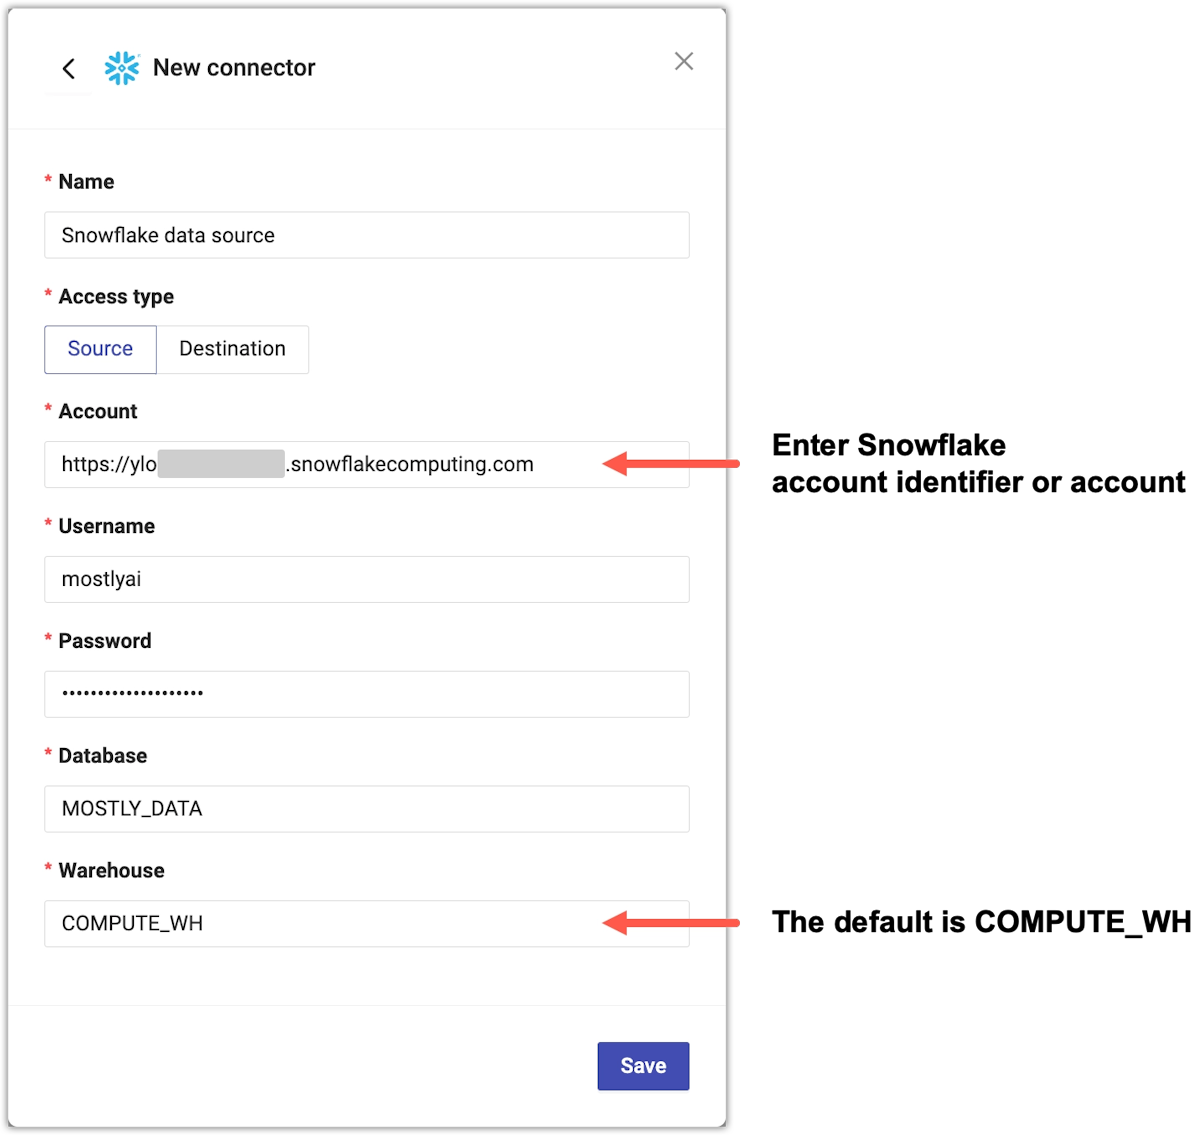
- Click Save.
MOSTLY AI tests the connection. If you see an error, check the connection details, update them, and click Save again.
You can click Save anyway to save the connector disregarding any errors.
Result
Your Snowflake connector is now saved.
What’s next
Depending on whether you created a source or a destination connector, you can use the connector as:
- data source for a new generator
- data destination for a new synthetic dataset